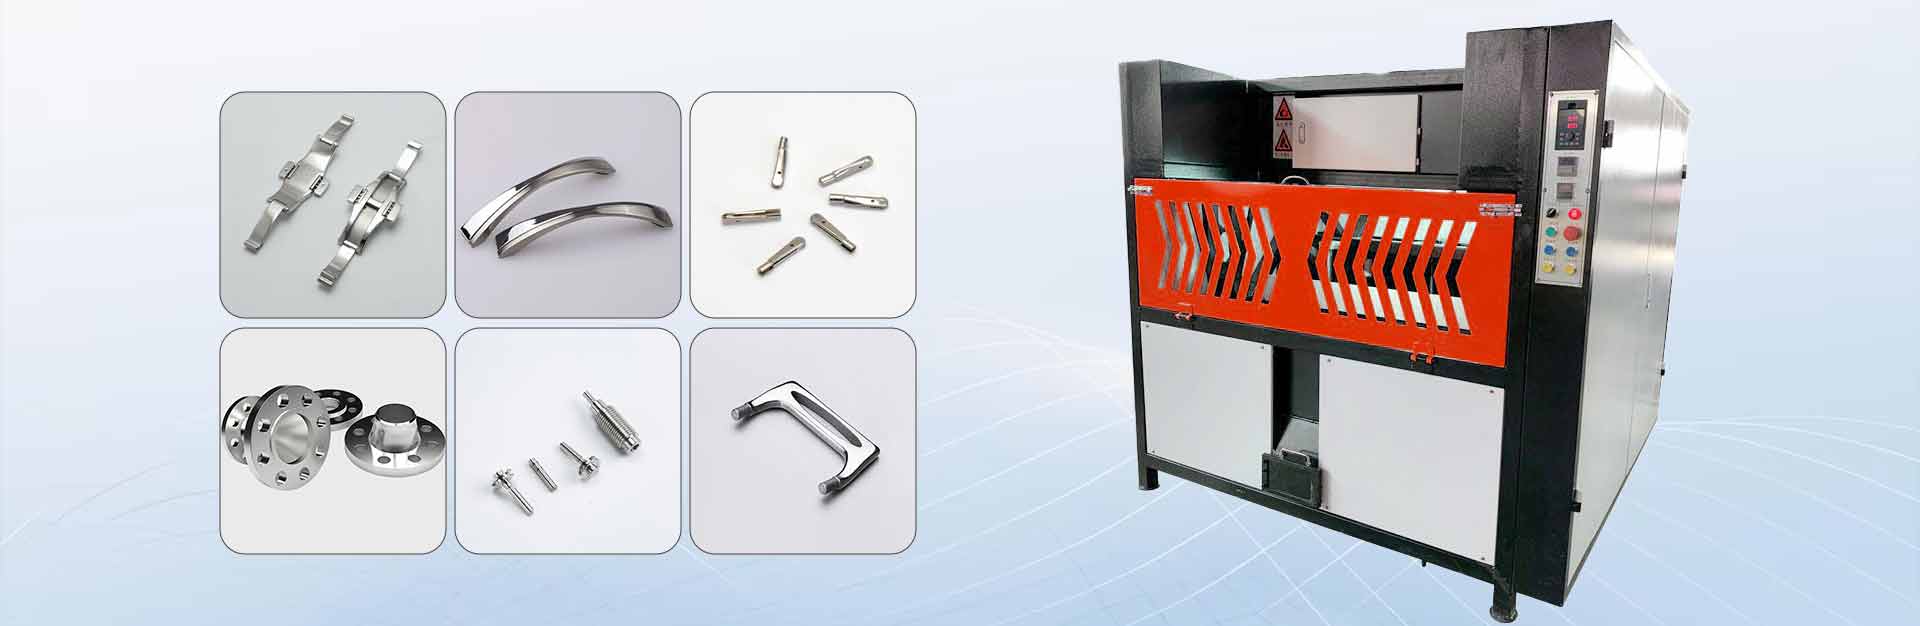

Abrasive heads play a critical role in achieving a smooth surface finish during polishing. Over time, these heads wear out, reducing their effectiveness. Polisher operators should replace abrasive heads after a specific number of hours or when visible signs of wear appear. Regular replacement prevents damage to the polishing buffing machine and ensures consistent results. Factors like the type of abrasive, the material being polished, and the intensity of use determine how often replacements are needed. For instance, using a da polisher on delicate surfaces may require more frequent changes to maintain optimal polishing performance. Proper maintenance and timely replacement extend the life of the machine and improve polishing efficiency.
Key Takeaways
- Check abrasive heads often for damage. Look for cracks, rough spots, or torn edges to keep polishing good.
- Watch how well the machine polishes. If it works slower or results get worse, change the abrasive heads.
- Fix strange shaking or noises right away. These usually mean the heads are worn out and need replacing to avoid machine problems.
- Clean abrasive heads and store them correctly. This helps them last longer and work better.
- Replace abrasive heads step by step. Prepare well and test after to make sure the machine works properly.
Signs It’s Time to Replace Abrasive Heads
Visible Wear and Tear
Abrasive heads experience wear and tear over time, which directly impacts their performance. Operators should inspect the heads regularly for visible signs of damage, such as uneven surfaces, cracks, or fraying edges. These issues reduce the effectiveness of the buffing process and can lead to inconsistent results. For instance, worn abrasive heads may fail to achieve the desired smoothness during polishing, leaving behind scratches or uneven finishes. Replacing the heads promptly ensures the machine operates efficiently and prevents further damage to the materials being polished.
Tip: Regular visual inspections can help identify wear early, minimizing downtime and maintaining optimal buffing performance.
Reduced Polishing Efficiency
A noticeable drop in polishing efficiency often signals the need for replacement. Worn abrasive heads struggle to maintain consistent pressure and material removal rates, leading to subpar results. Research shows that when polishing pressure increases from 5 N to 15 N, surface roughness values decrease by approximately 42.8%. Similarly, the material-removal rate increases by 52.5% when pressure rises from 5 N to 25 N. These metrics highlight how performance deteriorates as abrasive heads wear out. Operators should monitor the machine’s output closely and replace the heads when efficiency declines.
- Signs of reduced efficiency include:
- Longer polishing times.
- Uneven or rough finishes.
- Increased effort required to achieve desired results.
Unusual Machine Vibrations or Noises
Unusual vibrations or noises during metal polishing often indicate worn abrasive heads. Studies have demonstrated a strong correlation between tool wear and increased acoustic emissions. For example:
| Study | Findings |
|---|---|
| Yang and Yu (2012) | Acoustic sensors classified tool condition with over 99% accuracy. |
| Chen and Öpöz (2016) | AE sensors linked increased noise to grinding wheel wear. |
| General Findings | Vibrations and noises suggest wear in components, requiring replacement. |
These vibrations and noises not only affect the quality of buffing but also strain the machine, potentially leading to mechanical failures. Operators should address these issues promptly by replacing the abrasive heads to restore smooth operation.
Note: Ignoring unusual vibrations can lead to costly repairs and reduced machine lifespan.
Overheating of the Machine
Overheating is a common issue that signals the need to replace abrasive heads. When abrasive heads wear out, they generate excessive friction during operation. This friction increases the machine’s temperature, potentially causing damage to internal components. Operators should monitor the machine’s temperature closely during use to identify overheating early.
Tip: If the machine feels unusually hot to the touch or emits a burning smell, stop using it immediately and inspect the abrasive heads.
Several factors contribute to overheating:
- Worn abrasive surfaces: Damaged or uneven abrasive heads create more resistance, leading to heat buildup.
- Improper alignment: Misaligned heads can cause uneven pressure distribution, increasing friction.
- Extended usage periods: Continuous operation without breaks can overwork the industrial polishing machine, especially with worn heads.
Ignoring overheating can result in severe consequences. Prolonged exposure to high temperatures may warp the machine’s components or degrade its motor. Additionally, overheating reduces the efficiency of the polishing process, leading to inconsistent results.
| Signs of Overheating | Possible Causes |
|---|---|
| Machine feels excessively hot | Worn or damaged abrasive heads |
| Burning smell during operation | Excessive friction from uneven surfaces |
| Reduced machine performance | Overworked motor due to heat buildup |
To prevent overheating, operators should replace abrasive heads at the first sign of wear. Regular maintenance, such as cleaning and lubricating the machine, also helps manage heat levels. Allowing the machine to cool down between sessions can further reduce the risk of overheating.
Note: Consistently monitoring the machine’s temperature ensures safe operation and extends its lifespan.
Best Practices for Extending Abrasive Head Lifespan
Proper Cleaning and Maintenance

Regular cleaning and maintenance are essential for extending the lifespan of abrasive heads. Dust, debris, and residue from polishing abrasives can accumulate on the heads, reducing their effectiveness. Operators should clean the abrasive heads after every use to prevent buildup. Using a soft brush or compressed air can help remove particles lodged in the abrasive grit size. Additionally, keeping the undercarriage clean prevents damage to the polisher and ensures smooth operation. Routine inspections of the undercarriage components can identify wear early, avoiding costly repairs. Maintaining appropriate tension in the undercarriage system also minimizes unnecessary strain on the machine during buffing.
Tip: Always clean abrasive heads immediately by industrial polishing machine to maintain consistent performance and achieve a flawless surface finish.
Correct Storage of Abrasive Heads
Proper storage plays a significant role in preserving the quality of abrasive heads. Storing them in a dry, dust-free environment prevents contamination and degradation. Exposure to moisture can weaken the abrasive material, reducing its efficiency during buffing. Operators should avoid stacking abrasive heads directly on top of each other, as this can cause deformation. Instead, use dedicated storage racks or containers to keep them organized and protected. Labeling abrasive heads by grit ensures the correct one is selected for each polishing task, preventing unnecessary wear.
Note: Proper storage not only extends the lifespan of abrasive heads but also improves the efficiency of removing swirls and achieving a smooth surface finish.
Avoiding Overuse or Excessive Pressure
Overusing abrasive heads or applying excessive pressure during polishing can significantly shorten their lifespan. A da polisher, for example, requires consistent and moderate pressure to perform effectively. Excessive force can cause uneven wear, overheating, and damage to the abrasive surface. Operators should monitor the condition of the heads regularly and replace them when signs of wear appear. Rotating between multiple abrasive heads during extended buffing sessions can also prevent overuse.
Tip: Let the polisher and abrasive do the work. Avoid pressing too hard, as this can lead to uneven results and premature wear.
Regular Inspection for Damage
Regular inspections are crucial for identifying damage to abrasive heads before it affects polishing performance. Operators should establish a routine to examine the condition of abrasive heads after every use or at least weekly, depending on the frequency of machine operation. Early detection of damage prevents costly repairs and ensures consistent results.
Key Areas to Inspect
Operators should focus on the following aspects during inspections:
- Surface Condition: Check for cracks, uneven wear, or missing abrasive particles. These issues reduce the effectiveness of the head and may cause scratches on the polished surface.
- Attachment Points: Inspect the connection between the abrasive head and the machine. Loose or damaged attachments can lead to vibrations or misalignment.
- Shape and Thickness: Measure the thickness of the abrasive head. Excessive thinning indicates wear and signals the need for replacement.
Tip: Use a flashlight to spot small cracks or imperfections that may not be visible under normal lighting.
Tools for Inspection
Using the right tools simplifies the inspection process. A magnifying glass helps identify fine cracks, while a caliper measures thickness accurately. Operators can also use a straight edge to check for warping or uneven surfaces.
| Tool | Purpose |
|---|---|
| Magnifying Glass | Detects small cracks or imperfections |
| Caliper | Measures thickness and wear |
| Straight Edge | Identifies warping or uneven surfaces |
Benefits of Regular Inspections
Routine inspections extend the lifespan of abrasive heads and improve polishing efficiency. They also reduce the risk of machine damage caused by worn or faulty components. By addressing minor issues early, operators can avoid downtime and maintain consistent results.
Note: Consistent inspections save time and money in the long run by preventing major failures.
Step-by-Step Guide to Replacing Abrasive Heads
Preparing the Machine for Replacement
Proper preparation ensures a safe and efficient abrasive head replacement process. Operators should begin by shutting down the polishing buffing machine completely. Disconnect the power source to eliminate any risk of accidental activation during the procedure. For added safety, verify that the machine is in a zero-energy state. This step prevents potential hazards caused by residual energy.
Next, clean the polishing buffing machine thoroughly to remove dust and debris from previous polishing sessions. Pay special attention to the area around the abrasive head. A clean surface ensures smooth removal and installation of the abrasive. Operators should also gather the necessary tools, such as wrenches or screwdrivers, to avoid interruptions during the process. Wearing cut-resistant gloves protects hands from sharp edges or abrasive particles.
Tip: Always work in a well-lit area to improve visibility and reduce the risk of errors during replacement.
Removing the Worn Abrasive Head
Removing the worn abrasive head requires careful handling to avoid damaging the polisher. Begin by loosening the attachment mechanism, which may involve unscrewing bolts or releasing clamps. Follow the manufacturer’s guidelines for your specific machine model. Once loosened, gently detach the abrasive head. Avoid applying excessive force, as this can damage the mounting surface.
Inspect the removed abrasive for signs of uneven wear or cracks. This inspection helps identify potential issues that may affect future polishing performance. Proper disposal of the worn abrasive is essential. Place it in a designated waste container to prevent contamination of the workspace.
Note: If the abrasive head resists removal, check for hidden fasteners or debris obstructing the attachment mechanism.
Installing the New Abrasive Head
Installing a new abrasive head involves precision and adherence to safety protocols. Begin by aligning the new abrasive with the mounting surface. Ensure the abrasive fits securely and matches the machine’s specifications. Tighten the attachment mechanism gradually, checking for proper alignment throughout the process. Uneven mounting can lead to vibrations during polishing.
Refer to the table below for key safety requirements and common pitfalls during installation:
| Procedure | Key Safety Requirements | Common Pitfalls |
|---|---|---|
| Equipment shutdown | Complete power isolation, verification of zero energy state | Inadequate lockout/tagout, bypassing shutdown steps to save time |
| Abrasive replacement | Proper handling tools, cut-resistant gloves, correct mounting sequence | Rushing installation, failing to inspect new abrasives |
| Dust collection maintenance | Respiratory protection, proper waste handling, electrical isolation | Performing maintenance while system components remain energized |
After installation, test the polishing buffing machine at low speed to ensure the abrasive head operates smoothly. Listen for unusual noises or vibrations, which may indicate improper installation. Adjust the alignment if necessary before proceeding to the final polishing step.
Tip: Always use abrasives with the correct grit for your polishing task to achieve optimal results.
Testing the Machine After Replacement
Testing the polishing buffing machine after replacing abrasive heads ensures proper installation and optimal performance. Operators should follow a systematic approach to verify functionality and identify potential issues.
Step 1: Inspect the Installation
Operators should begin by visually inspecting the newly installed abrasive head. They should check for proper alignment and secure attachment. Loose or misaligned heads can cause vibrations or uneven polishing results. Using a flashlight helps identify subtle misalignments or gaps.
Tip: Rotate the abrasive head manually to confirm smooth movement before powering the machine.
Step 2: Start the Machine at Low Speed
Activating the polishing buffing machine at its lowest speed allows operators to observe its behavior without risking damage. They should listen for unusual noises, such as grinding or rattling, which may indicate improper installation. Vibrations during operation often signal alignment issues.
Step 3: Perform a Test Buffing
Operators should test the machine on a small, inconspicuous area of the material. This step evaluates the abrasive head’s performance and ensures it produces the desired finish. Uneven polishing or excessive resistance suggests further adjustments are needed.
Step 4: Monitor Temperature and Performance

During the test, operators should monitor the machine’s temperature and overall performance. Overheating or reduced efficiency may indicate underlying issues. They should stop the machine immediately if it feels excessively hot or emits unusual smells.
| Testing Checklist | What to Look For |
|---|---|
| Alignment | Smooth rotation, no gaps or misalignment |
| Noise | Absence of grinding or rattling sounds |
| Polishing Results | Even finish, consistent material removal |
| Temperature | Normal operating temperature |
Note: Addressing minor issues during testing prevents major failures during operation.
Step 5: Final Adjustments
Operators should make final adjustments based on the test results. Tightening loose attachments or realigning the abrasive head ensures optimal performance. After adjustments, repeating the test confirms the machine is ready for regular use.
Tip: Document the testing process to track performance and identify recurring issues over time.
Conclusion
Regular replacement of abrasive heads ensures the polishing buffing machine operates efficiently and lasts longer. Operators should monitor factors like material type, usage intensity, and visible wear to determine when to replace the abrasive. Following best practices, such as proper cleaning, storage, and inspection, extends the lifespan of the polisher. Adhering to correct replacement procedures also guarantees consistent polishing results. A da polisher, when used with the right grit, achieves a flawless surface finish. Regular maintenance and timely replacements prevent damage and improve machine polishing performance.