Using the correct amount of polishing compound ensures a smooth and effective polishing process, so it’s important to know how much polishing compound to use. Applying too much product can create hyper-lubrication, which prevents abrasives from properly engaging with the surface. This often causes the polishing pad to skim over the material instead of cutting into it. Excessive compound may also saturate the pad, leading to splatter on nearby areas. On the other hand, using too little compound disrupts the pad’s rotation due to insufficient lubrication. Starting with a small amount and adjusting as needed helps avoid these issues while achieving optimal results.
Key Takeaways
- Use a little polishing compound to avoid waste and mess.
- Applying by hand is safer for fragile surfaces and more precise.
- Orbital polishers are easy to use and protect surfaces better.
- Using less compound can save money and give better results.
- Test on a small spot first to check if it works well.
General Guidelines for How Much Polishing Compound to Use
Hand Application
Hand application offers a precise and controlled way to apply a polishing compound. This method works well for small areas or delicate surfaces. It is safer compared to machine application, especially for beginners or when working on sensitive materials. Hand polishing reduces the risk of damaging the paint and allows users to reach tight spaces that machines cannot access.
- Advantages of Hand Application:
- Safer for delicate surfaces.
- Reaches hard-to-access areas.
- Provides a personal touch to the process.
- Requires minimal investment, making it budget-friendly.
When applying the polishing compound by hand, start with a small amount of polish on a clean, soft cloth. Rub in circular motions with consistent pressure. Gradually add more compound if needed, but avoid overloading the surface. This ensures even coverage and prevents waste.
Orbital Polishers
Orbital polishers are an excellent choice for beginners and those seeking a balance between safety and efficiency. These tools use an oscillating motion, which minimizes the risk of swirls or holograms on the surface. They are easy to handle and provide consistent results, making them ideal for car compounding or general polishing tasks.
- Benefits of Orbital Polishers:
- Safer for paint surfaces.
- Easy to use, even for beginners.
- Effective at removing minor defects.
- Compact and affordable.
To use an orbital polisher, apply a small amount of polishing compound to the pad. Spread it evenly across the surface before turning on the machine. Work in sections, allowing the polisher to glide smoothly without pressing too hard. This method ensures the polishing compound is applied evenly and effectively.
Rotary Buffers
Rotary buffers are powerful tools designed for advanced users. They operate with a direct drive, creating a high-speed rotating motion. This makes them effective for aggressive paint correction but also increases the risk of damage if not handled properly. Improper use can lead to paint burns, uneven surfaces, or buffer trails.
- Safety Considerations for Rotary Buffers:
- High-speed rotation can damage paint if used incorrectly.
- Friction generates heat, which may harm the surface.
- Proper technique is essential to avoid accidents.
Users should wear protective gear, inspect the equipment regularly, and ensure the work area is clear. Always unplug the buffer when not in use. Start with a small amount of rubbing compound and spread it evenly before activating the tool. Move the buffer steadily to avoid overheating or uneven application.
Why Using Less is Often Better?
Using less polishing compound often leads to better results during the polishing process. Excessive amounts can create several issues that hinder the effectiveness of the task. When too much product is applied, it can saturate the polishing pad, reducing its ability to cut into the surface. This results in uneven polishing and wasted material.
A smaller amount of polishing compound ensures that the abrasives in the product engage properly with the surface. This allows for more precise correction of imperfections. Overloading the surface with polishing compounds can also lead to splatter, which creates additional cleanup work. By using less, users can maintain better control over the application process.
Another advantage of using minimal product is cost efficiency. Polishing compounds can be expensive, especially high-quality ones. Applying only the necessary amount reduces waste and extends the lifespan of the product. This approach is particularly beneficial for those who polish surfaces regularly.
Less product also minimizes the risk of damaging the surface. Excess compound can create a thick layer that traps heat using industrial polishing machine. This heat buildup may harm delicate materials, such as automotive paint or soft plastics. A thin, even layer of rubbing compound prevents overheating and ensures a safer polishing experience.
To determine how much polishing compound to use, start with a small amount and gradually add more if needed. This method allows users to monitor the results and adjust accordingly. Applying the polishing compound sparingly not only improves efficiency but also enhances the overall quality of the finish.
Factors That Influence How Much Polishing Compound to Use
Surface Type (e.g., Metal, Plastic, Wood)
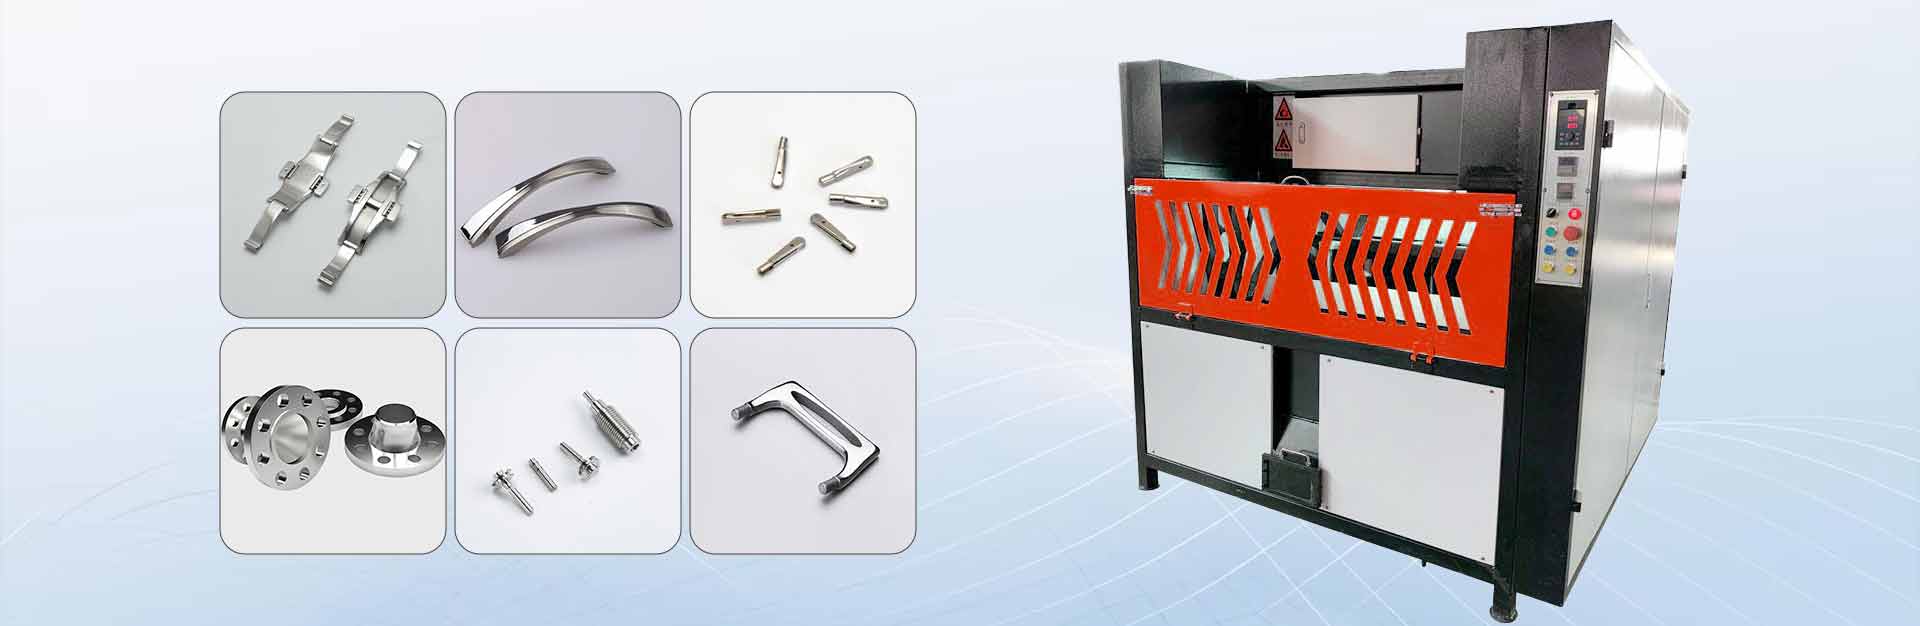
The type of surface being polished plays a significant role in determining how much polishing compound to use. Hard surfaces like stainless steel or aluminum often require less product because they resist absorption. In contrast, porous materials such as wood or soft plastics may need more polishing compound to achieve consistent coverage.
Metal surfaces, especially those with deep scratches, benefit from specialized metal polishing compounds. Black polishing compound works well for removing scratches from platinum or stainless steel, while Green polishing compound delivers a mirror-like finish. On softer metals like brass or copper, Tripolis are commonly used to eliminate dull scratches and enhance shine. Understanding the surface type ensures the correct amount of polish is applied for optimal results.
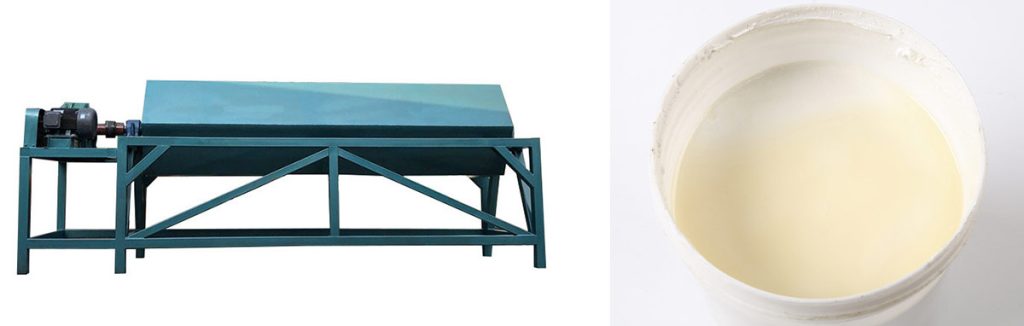
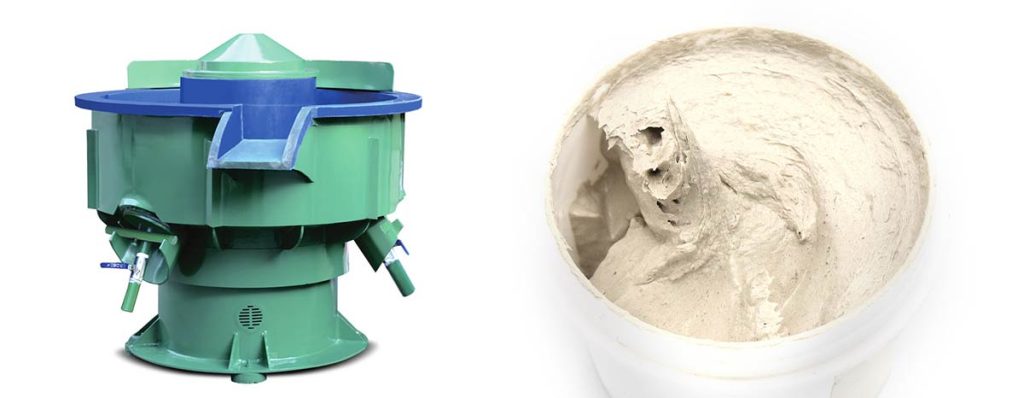
Type of Polishing Compound (e.g., Liquid, Paste, Wax)
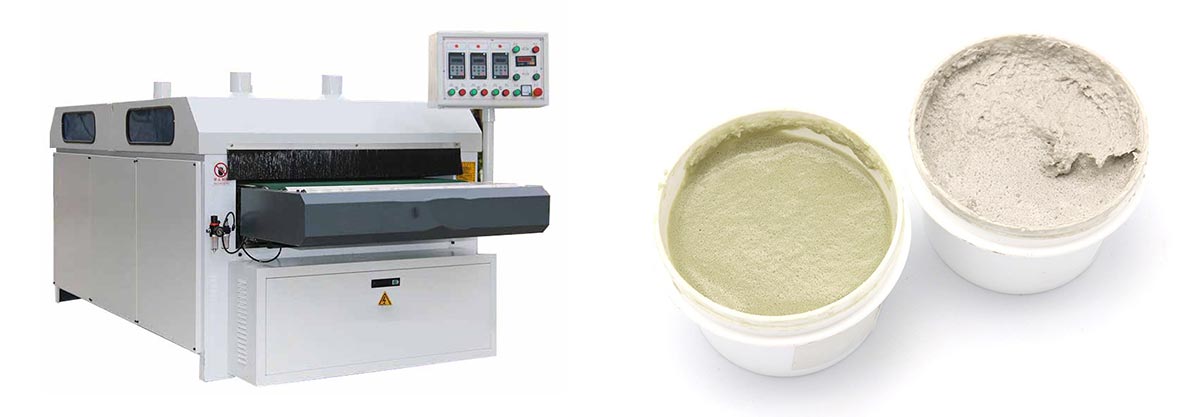
The form and composition of the polishing compound also influence how much product is needed. Liquid compounds spread easily and require less effort to apply, making them ideal for large surfaces. Paste compounds, on the other hand, are thicker and more concentrated, often requiring smaller amounts for effective results. Wax-based compounds, commonly used in car compounding, provide a protective layer but may need more product to cover the surface evenly.
Different types of polishing compounds serve specific purposes. For instance:
- White polishing compound is ideal for hard metals like stainless steel.
- Red polishing compound provides a high-luster finish for precious metals.
- Blue polishing compound works well on non-ferrous metals for a smooth final polish.
Choosing the right type of compound ensures efficient use and prevents waste.
Tool Used (e.g., Hand, Orbital Polisher, Rotary Buffer)
The tool used for polishing significantly impacts the quantity of polishing compound required. Hand application typically uses less product because it allows for precise control. However, machines like rotary buffers and orbital polishers distribute the compound more evenly and efficiently. Rotary buffers, with their high-speed rotation, push polishing oils into microscopic surface imperfections, reducing the need for repeated applications. Orbital polishers, while safer for beginners, may require more product due to their larger buffing pads absorbing some of the compound.
- Key Differences:
- Hand application offers precision but may take longer.
- Orbital polishers are beginner-friendly but use more buffing compound.
- Rotary buffers provide aggressive correction but demand careful handling.
Selecting the right tool and adjusting the amount of polish accordingly ensures a smooth and effective polishing process.
Condition of the Surface (e.g., heavily scratched vs. lightly dulled)
The condition of a surface significantly impacts how much polishing compound is required. Heavily scratched surfaces demand more preparation and product compared to lightly dulled ones. Proper evaluation of the surface ensures effective polishing and prevents unnecessary damage.
For heavily scratched surfaces, a systematic approach is essential. Deep scratches often require additional steps before applying the polishing compound. Follow these techniques for optimal results:
- Remove rust or debris from the surface to create a clean working area.
- Evaluate the depth of scratches. Use wet sanding for deep imperfections to smooth the surface.
- Select the appropriate polishing compound based on the material. For instance, harder metals may need a more abrasive compound.
When applying the compound, use a power tool with a buffing wheel for even distribution. A dime-sized amount of product is sufficient for small sections. Work in circular motions and polish one section at a time. Regularly clean the buffing pad to avoid spreading debris that could cause further scratches. Avoid polishing in direct sunlight, as heat can reduce the compound’s effectiveness.
Lightly dulled surfaces require less effort and product. A small amount of polishing compound applied with consistent pressure often restores the shine. Hand application works well for these surfaces, as it provides greater control and minimizes the risk of over-polishing.
Maintaining proper technique ensures the polishing compound achieves its intended effect. Adjusting the amount based on the surface condition not only saves product but also enhances the final finish.
Tips for Finding the Right Amount of Polishing Compound
Start Small and Add Gradually
Starting with a small amount of polishing compound ensures better control during the process. Applying too much product at once can lead to uneven results and wasted material. A pea-sized amount is often sufficient for small sections. For larger areas, users can add more compound incrementally as needed. This approach prevents overloading the surface and allows the abrasives to work effectively.
When applying the polishing compound, spreading it evenly across the surface is crucial. Uneven distribution can cause inconsistent polishing and may fail to remove scratches properly. By starting small and gradually adding more, users can monitor the progress and adjust the quantity to achieve the desired results. This method also minimizes cleanup time and reduces the risk of damaging the surface.
Test on a Small Area First
Testing on a small, inconspicuous area helps determine the proper amount of polishing compound required. This step is especially important for delicate or unfamiliar surfaces. It allows users to evaluate how the compound interacts with the material and ensures it does not cause unintended damage.
To test, apply polishing compound sparingly to a small section and polish using the chosen tool or method. Observe the results closely. If the surface begins to create a mirror-like finish or shows improvement in clarity, the amount used is likely appropriate. If the compound fails to buff out scratches or leaves residue, adjustments may be necessary. Testing first saves time and ensures a successful polish application.
Adjust Based on Results and Feedback
Polishing is not a one-size-fits-all process. The amount of compound needed often depends on the surface condition, tool, and type of compound. Users should adjust the quantity based on the results observed during the process. For heavily scratched surfaces, slightly increasing the amount may help remove scratches more effectively. For lightly dulled areas, a smaller amount is usually sufficient.
Feedback from the surface itself is a valuable guide. If the compound spreads too thinly or dries out quickly, adding a bit more can improve coverage. Conversely, if the pad becomes saturated or the surface feels overly slick, reducing the amount ensures better performance. Regularly cleaning the pad during the process also helps maintain consistent results.
By following these tips, users can find the proper amount of polishing compound for their specific needs. This approach not only enhances efficiency but also ensures a high-quality finish.
Conclusion
Using the correct amount of polishing compound ensures a smooth and effective polishing process. Starting with a small amount allows users to maintain control and avoid waste. Proper application techniques, such as spreading the compound evenly and working in sections, enhance the quality of the finish. Adjusting the quantity based on the surface type and tool used ensures optimal results.
Experimentation plays a key role in mastering the process. Regular practice helps users understand how different surfaces and tools respond to varying amounts of compound. Over time, this knowledge leads to more efficient and precise polishing techniques.
FAQ
How Can You Tell If You Are Using Too Much Polishing Compound?
Excess polishing compound often creates a greasy residue or splatter on nearby areas. The pad may also feel saturated, reducing its effectiveness. Users should observe the surface for uneven results or streaks. Starting with a small amount and adjusting gradually prevents overuse.
Can You Use Polishing Compound on All Surfaces?
Polishing compounds work on many surfaces, including metal, plastic. However, users should choose a compound designed for the specific material. For example, softer compounds suit delicate surfaces like plastics, while abrasive compounds are better for hard metals. Testing on a small area ensures compatibility.
How Often Should You Clean the Polishing Pad?
Cleaning the polishing pad after every section prevents debris buildup and ensures consistent results. A dirty pad can spread contaminants, causing scratches or uneven polishing. Users can clean pads by rinsing them with water or using a pad cleaner. Regular maintenance extends the pad’s lifespan.
What Is the Best Way to Store Polishing Compounds?
Store polishing compounds in a cool, dry place away from direct sunlight. Exposure to heat or moisture can alter their consistency and effectiveness. Ensure the container is tightly sealed to prevent drying out. Proper storage maintains the product’s quality for future use.
Why Is Testing on a Small Area Important?
Testing on a small area helps users evaluate the compound’s performance and compatibility with the surface. This step prevents potential damage, especially on delicate materials. Observing the results allows adjustments to the amount or technique before proceeding with the entire surface.