A plastic polish machine plays a crucial role in anti-static plastic processing by enhancing the surface quality of materials. It removes imperfections, leaving a smooth and polished finish. This process not only improves the appearance of the plastic but also reduces static electricity, which can attract dust and debris. Proper operation of the machine ensures consistent results and prevents damage to the material. By following the correct steps, users can achieve a professional-grade finish while extending the lifespan of their equipment.
Key Takeaways
- A plastic polish machine makes surfaces smoother and less static.
- Clean the plastic well before polishing to avoid scratches.
- Pick the correct pad and set the machine for the plastic type.
- Use anti-static spray after polishing to keep it clean and dust-free.
- Take care of the machine and store it properly to make it last longer.
Tools and Materials for Plastic Polishing
Essential Tools for Anti-Static Processing
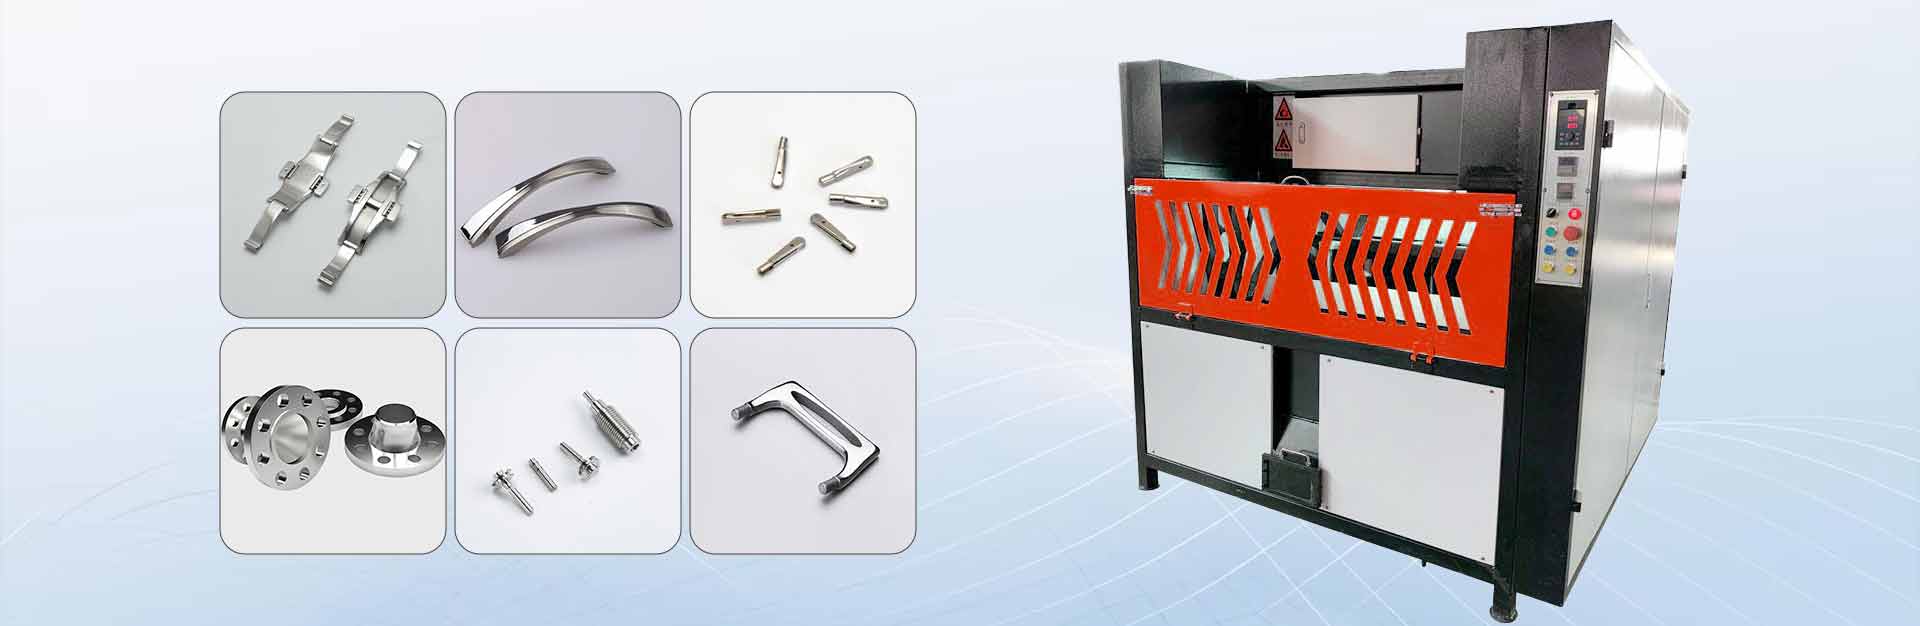
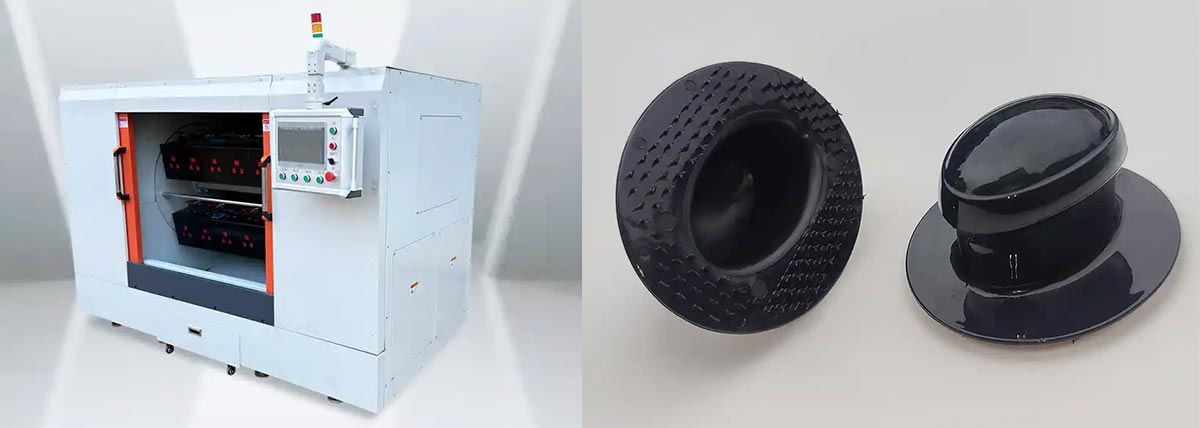
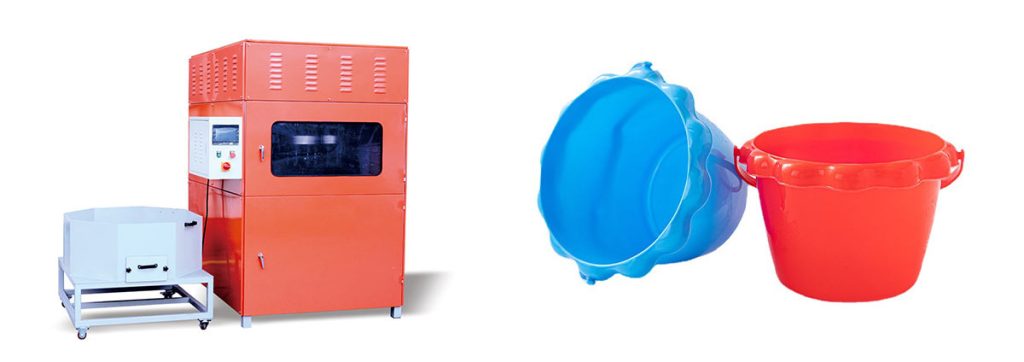
Plastic Polish Machine
A plastic polish machine is the cornerstone of anti-static plastic processing. It ensures a smooth and polished surface by removing imperfections and reducing static electricity. This machine is designed to work efficiently on various types of plastic, including acrylic and polycarbonate, making it an indispensable tool for achieving professional results.
Anti-Static Cleaning Solution
An anti-static cleaning solution neutralizes static charges on the plastic surface. This step is crucial for preventing dust and debris from adhering to the material during the polishing process. Many industry professionals recommend using a solution specifically formulated for plastics to avoid damage.
Microfiber Cloths
Microfiber cloths are essential for cleaning and wiping the plastic surface. Their soft texture prevents scratches, ensuring the material remains flawless. These cloths are also effective in removing dust and residue left behind by the polishing compound.
Safety Gear (Gloves, Goggles, Mask)
Safety gear protects the user during the polishing process. Gloves shield the hands from chemicals and sharp edges, goggles protect the eyes from debris, and a mask prevents inhalation of fine particles. Prioritizing safety ensures a smooth and hazard-free operation.
Tip: Always inspect safety gear for damage before use to ensure maximum protection.
Optional Tools for Enhanced Results
Plastic Buffer Polisher Attachments
Plastic buffer polisher attachments enhance the versatility of the plastic polish machine. These attachments allow users to achieve a finer finish on intricate or curved surfaces. They are particularly useful for detailed work on small plastic components.
Anti-Static Spray
An anti-static spray provides an additional layer of protection against static electricity. Applying this spray after polishing helps maintain the cleanliness of the plastic surface by repelling dust and debris.
Compressed Air Canister
A compressed air canister is a convenient tool for removing dust and particles from hard-to-reach areas. It ensures the plastic surface is thoroughly clean before and after polishing, contributing to a flawless finish.
| Industry | Application | Importance |
|---|---|---|
| Manufacturing | Quality control and assembly processes | Essential for handling small parts and preventing damage due to static discharge. |
| Healthcare | Surgeries, laboratory tests, and sample handling | Non-reactive properties ensure no interference with medical procedures. |
| Research | Conducting experiments and handling sensitive samples | Anti-static properties prevent contamination and ensure accuracy in experimental results. |
| Aerospace | Handling small components in complex machinery | Prevents damage to sensitive electronic components, crucial for operational efficiency. |
| Automotive | Precision engineering and assembly | High-precision tools are necessary for the smooth operation of machinery. |
These tools and materials, both essential and optional, play a significant role in achieving optimal results during plastic polishing. By using the right equipment, users can enhance the efficiency and quality of their work.
Preparing the Plastic Surface
Cleaning and Prepping the Plastic
Proper cleaning and preparation of the plastic surface are essential for achieving a flawless finish. Dust, debris, and static charges can interfere with the polishing process, leading to suboptimal results. Follow these steps to ensure the surface is ready for polishing:
- Remove dust and debris: Use a microfiber cloth to gently wipe the surface. For hard-to-reach areas, a compressed air canister works effectively to dislodge particles without causing damage.
- Apply an anti-static cleaning solution: Neutralize static charges by applying a solution specifically designed for plastics. This step prevents dust from re-adhering to the surface during polishing.
- Choose the right cleaning agents: Studies show that mild detergents, such as a 5% dish soap solution, can remove up to 90% of residues. For more thorough cleaning, use isopropyl alcohol (IPA) at a concentration of 70-90%, which achieves up to 98% degreasing efficiency. Avoid abrasive cleaners to prevent micro scratches.
Tip: Always test the cleaning solution on a small, inconspicuous area of the plastic to ensure compatibility.
Inspecting the Surface
Before polishing, inspect the plastic surface for imperfections. This step ensures that the material is in optimal condition for processing.
- Check for scratches, cracks, or imperfections: Conduct a visual inspection under good lighting. Look for any defects that could affect the final finish.
- Ensure the surface is dry: Moisture can interfere with the polishing process. Use a clean microfiber cloth to dry the surface completely.
| Defect Type | AQL Level (%) | Description |
|---|---|---|
| Critical Defects | 0.01-0.1% AQL | Defects that could lead to hazardous or unsafe outcomes. |
| Major Defects | 0.65-1.5% AQL | Defects that could affect product usability or performance. |
| Minor Defects | 2.5-4.0% AQL | Minor imperfections that don’t affect function but may impact aesthetics. |
A research study highlights the importance of thorough inspection in quality control. Techniques such as visual checks and non-destructive testing help identify imperfections like scratches or cracks. These methods ensure the surface is ready for polishing and prevent issues during the process.
Note: Address any major defects before proceeding to avoid compromising the final result.
Operating the Plastic Polish Machine
Setting Up the Machine
Choose the Appropriate Polishing Pad or Plastic Buffer Polisher Attachment
Selecting the right polishing pad or plastic buffer polisher attachment is crucial for achieving a smooth finish. Different plastics, such as acrylic, require specific pads to avoid surface damage. For instance, softer pads work well on delicate materials, while firmer pads are better suited for harder plastics. Always refer to the machine’s manual to ensure compatibility with the chosen attachment.
Adjust Machine Settings Based on the Type of Plastic (e.g., Acrylic)
Adjusting the plastic polish machine settings is essential for optimal results. Lower speeds are ideal for softer plastics like acrylic, as they minimize the risk of overheating or warping. Higher speeds may be necessary for harder plastics to achieve a consistent polish. Always test the settings on a small, inconspicuous area before proceeding with the entire surface.
Polishing the Plastic Surface
Test a Small Area to Confirm Settings
Before polishing the entire surface, test a small section to confirm the machine’s settings and attachment suitability. This step ensures that the plastic does not sustain damage and that the finish meets expectations.
Use Smooth, Even Strokes to Polish the Surface
Operate the plastic polish machine using smooth, even strokes. This technique prevents uneven polishing and ensures a consistent finish. Apply four pea-sized drops of polishing compound to the center of the pad for optimal results. Alternatively, lightly spray the compound over a 10 ft × 10 ft area to achieve even distribution. Professional tests show that refined sanding techniques can reduce surface abrasion by up to 75%, contributing to a superior finish.
Avoid Excessive Pressure to Prevent Damage
Excessive pressure can cause scratches or deformities on the plastic surface. Let the plastic buffer polisher do the work, and maintain a steady hand to avoid uneven results. Transitioning from 400-grit to 1000-grit sandpaper during preparation can reduce visible scratches by 85%, ensuring a flawless finish.
Finalizing the Process
Wipe the Surface with a Clean Microfiber Cloth
After polishing, use a clean microfiber cloth to remove any residue left by the polishing compound. This step enhances the clarity and smoothness of the plastic surface.
Apply an Anti-Static Spray for Added Protection
Finish the process by applying an anti-static spray. This spray reduces static electricity, preventing dust and debris from adhering to the polished surface. It also helps maintain the pristine appearance of the plastic over time.
Tip: Store the plastic polish machine and its attachments in a clean, dry place to prolong their lifespan.
Tips for Acrylic Polishing and Best Practices
Practical Tips for Success
Work in a Clean, Dust-Free Environment
A clean workspace is essential for achieving professional-quality restoration during acrylic polishing. Dust particles can scratch the surface, compromising the final finish. Before starting, ensure the area is free from airborne debris. Use a compressed air canister to clear any lingering dust from the workspace and the plastic surface. Studies, such as those by A. Iquebal et al., emphasize the importance of maintaining a controlled environment to prevent imperfections during polishing.
Use High-Quality Polishing Pads for Better Results
Investing in high-quality polishing pads ensures consistent results. These pads are designed to minimize surface abrasion and enhance the clarity of acrylic surfaces. For optimal results, follow a sanding progression:
- Coarse sanding (80-120 grit) for heavy damage.
- Medium sanding (220-400 grit) for moderate scratches.
- Fine sanding (600-800 grit) for light scratches.
- Ultra-fine sanding (1000-3000 grit) for finishing and polishing.
Refined sanding techniques can reduce surface abrasion by up to 75%, as shown in industry tests. Using premium pads also helps achieve a smoother finish, reducing visible scratches by an average of 85%.
Mistakes to Avoid
Skipping the Cleaning Step, Which Can Cause Scratches
Neglecting to clean the plastic surface before polishing can lead to scratches. Dust and debris act as abrasives, damaging the acrylic during the process. Experts recommend cleaning the surface with NOVUS No. 1 before applying NOVUS No. 2 for polishing. This two-step approach ensures the removal of contaminants and prepares the surface for professional-quality restoration.
Using Incorrect Machine Settings for the Plastic Type

Using improper machine settings can damage the acrylic surface. For softer plastics like acrylic, lower speeds are recommended to prevent overheating or warping. Testing the settings on a small area ensures compatibility and avoids costly mistakes. Research by V.O. Kurylo et al. highlights the importance of adjusting machine settings based on material properties to achieve optimal results.
Tip: Always use a clean muslin wheel or soft flannel pad for buffing to achieve the highest gloss without introducing new scratches.
Conclusion
Operating a plastic polish machine effectively requires attention to detail and adherence to proper techniques. Key steps include cleaning and inspecting the surface, selecting the right polishing pad, and using smooth, even strokes during polishing. These actions ensure a clear and glossy finish while removing imperfections. Regular maintenance, such as applying protective coatings or wax, enhances durability and preserves the transparency of polished surfaces.
Studies highlight the effectiveness of these methods in improving surface quality and longevity. For example:
| Study Title | Findings | Methodology |
|---|---|---|
| How to Polish Plastic | Investigates surface plastic flow mechanisms during polishing, suggesting efficient measures for surface morphology characterization. | Graph representation of surface quality at various polishing stages. |
| FLAW DEFECTION ANALYSE OF THE SURFACE OF ACRYLIC BASE PLASTICS | Examines surface smoothness and microscopic defects in acrylic plastics, assessing polishing impact. | Comparison of standard and defective samples. |
Long-term care also plays a vital role. Applying UV protectant sprays and non-abrasive cleaners helps maintain the high-gloss finish and prevents discoloration. These steps not only restore the surface but also extend the lifespan of automotive plastic parts and other materials. By following these guidelines, users can achieve professional results and improve clarity in their projects.
Tip: Consistent maintenance ensures polished surfaces remain in pristine condition over time.