
Testing the gloss of a surface after applying a metal polishing compound involves several reliable methods. Visual inspection, gloss meter readings, and comparison with reference samples help users evaluate results. Cleaning the surface remains essential, as leftover polishing compound or debris may distort gloss measurements. Studies show that using polishing discs or similar tools can reduce surface roughness to below 0.5 µm, which greatly improves smoothness and shine. Whether working by hand or with an industrial buffing machine, anyone can follow step-by-step methods to achieve consistent results.
Key Takeaways
- Clean the metal surface thoroughly before testing gloss to remove polishing residue and ensure accurate results.
- Use bright, even lighting and view the surface from different angles to spot imperfections and assess shine clearly.
- Gloss meters provide precise, repeatable measurements of surface gloss and help confirm visual inspections.
- Progressive polishing with finer abrasives and protective wax or sealants improves and maintains a high-gloss finish.
- If the finish looks dull, clean the surface and repeat polishing steps carefully using the right tools and compounds.
Surface Preparation
Cleaning Steps
Proper surface preparation ensures accurate gloss testing after using a metal polishing compound. Cleaning removes any residue left by the polishing compound, which can affect the final appearance. Start by rinsing the metal surface with warm water. Add a small amount of mild soap to help break down oils and leftover polishing compounds. Use a soft sponge or cloth to gently scrub the area. Rinse thoroughly to remove all soap and debris.
After washing, dry the surface with a clean, lint-free cloth. Buff the area lightly to remove any streaks or water spots. A dry surface allows for a true assessment of gloss. Any moisture or residue can distort the results. For best results, always polish in a well-lit area. This helps spot any missed spots or imperfections.
Before applying a metal polishing compound to the entire surface, test before committing. Choose a hidden or less visible area. Apply a small amount of the polishing compound and polish as usual. This step helps determine if the compound suits the specific metal and avoids unwanted reactions.
Tip: Always use clean tools and wear gloves during polishing. This prevents contamination and protects the finish.
Using Ultra-Fine Sandpaper
Ultra-fine sandpaper plays a key role in preparing and refining polishing metal surfaces. After initial cleaning, inspect the surface for scratches or oxidation. If needed, use ultra-fine sandpaper (such as 2000-grit or higher) to smooth out imperfections. Sand gently in a consistent direction. This step creates a uniform base for polishing.
Once sanding is complete, clean the surface again to remove dust. Begin polishing with the chosen polishing compound. Work in small sections, using circular motions. For larger projects or when seeking a mirror-like finish, consider using an industrial buffing machine. This equipment delivers consistent pressure and speed, enhancing the effectiveness of polishing compounds.
Polishing metal surfaces often requires several rounds of polish and buffing. Each stage brings out more shine. Always finish by wiping the surface clean and inspecting the gloss under good lighting.
Visual Inspection
Lighting and Angles
Lighting plays a crucial role in evaluating the gloss of a polished metal surface. Inspectors should always use bright, even lighting to reveal the true quality of the finish. Natural daylight or a strong LED lamp works best. The angle of observation also affects how the eye perceives gloss and shine. When a person views the surface directly in line with the light source, specular highlights appear most intense. Rotating the object or changing the viewing angle can reveal hidden imperfections or areas where the shine is inconsistent.
| Manipulation Type | Variable | Effect on Perceived Gloss |
|---|---|---|
| Rotation of specular highlights | Angular offset (degrees) | Gloss perception highest at 0° offset; decreases rapidly; falls below chance beyond ±10° |
| Translation of specular highlights | Horizontal translation (% image width) | Gloss perception decreases monotonically with increasing translation up to 12% |
This table shows that even small changes in viewing angle or highlight position can dramatically reduce the perceived gloss. The visual system relies on the alignment of highlights with the surface’s 3D geometry. For the most accurate assessment, inspectors should move around the object and observe from several angles. This method helps spot any surface irregularities that may not be visible from a single viewpoint.
Tip: Use a flashlight or move the light source to different positions. This technique helps reveal swirl marks or uneven shine left after polishing.
Gloss Indicators
A high-gloss finish reflects light sharply and produces clear, mirror-like images. Inspectors should look for distinct reflections of objects or patterns in the polished surface. The absence of haze, bloom, or milky opalescence signals a successful polish. Studies have shown that gloss indicators such as specular gloss, sheen, and distinctness of image (DOI) can be measured using gloss units (GU). These measurements correlate closely with visual perception of shine and polish quality.
| Study/Source | Gloss Indicator | Measurement Method | Key Findings |
|---|---|---|---|
| R.S. Hunter | Specular gloss, sheen, DOI | Ratio of luminous flux reflected to standard glass (GU) | Established systematic cues for gloss appearance on polished metals |
| ASTM and ISO Standards | Haze gloss (reflection haze) | Ratio of flux at specified angles | Standardized definitions and protocols for haze gloss on high-gloss surfaces |
| González-Leal et al. | Visual haze on stainless steel | Noncontact image analysis | Quantifies haze gloss and links image analysis to gloss perception |
| Archaeological study | Gloss units (GU) | Glossmeter measurements | Gloss units better correlate with visual polish than roughness metrics |
A polished metal surface that achieves a high-gloss finish will show a sharp, undistorted reflection. If the surface appears cloudy or the reflected image looks blurred, haze may be present. Inspectors should also check for the distinctness of image, which refers to how clearly the surface reflects nearby objects. A successful polish, especially when using an industrial buffing machine, will maximize these gloss indicators and produce a uniform shine.
Common Issues
Several common issues can affect the visual assessment of gloss after polishing. Swirl marks, fine scratches, or uneven shine often result from improper technique or contaminated tools. Over-polishing can create a hazy appearance, reducing the clarity of reflections. Inspectors may also notice areas where the shine appears dull or inconsistent. These problems often occur when the polishing compound is not fully removed or when the surface is not properly cleaned before the final polish.
Note: If haze or dull spots remain after polishing, try repeating the process with a finer compound or a clean buffing pad. Always ensure the surface is free from dust and residue before the final inspection.
Statistical analysis confirms that gloss perception depends on the spatial arrangement of highlights and the consistency between specular reflections and surface geometry. Simple photometric statistics, such as histogram skew, do not reliably predict gloss. Instead, the visual system integrates information about surface shape, illumination, and highlight placement. This approach allows inspectors to distinguish between a true high-gloss finish and one that only appears shiny under certain conditions.
A thorough visual inspection, combined with proper lighting and attention to detail, ensures that the final polish meets professional standards. Consistent shine, absence of surface irregularities, and clear reflections signal a successful polishing job.
Gloss Meter Testing
Using a Gloss Meter
A gloss meter provides a scientific way to measure the gloss level of a metal surface after polishing. This device shines a controlled beam of light at a specific angle onto the surface and measures the amount of light reflected back. The process ensures objective and repeatable results, which visual inspection alone cannot guarantee.
Gloss meters designed for metal surfaces often use a 60° measurement angle, which is the industry standard for most gloss evaluations. Some models allow users to switch between 20°, 60°, and 85° angles. The 20° angle works best for high-gloss finishes, such as those produced by an industrial buffing machine, while the 85° angle suits low-gloss surfaces. The 60° angle covers semi-gloss and general applications.
Before starting, users should ensure the gloss meter and the metal sample reach the same temperature. Large temperature differences can cause condensation, which may affect accuracy. The device must be calibrated using a supplied calibration plate. Many gloss meters include ISO calibration certificates, which confirm traceability and compliance with international standards like ISO 2813 and ASTM D 523. Calibration ensures that the instrument provides accurate and reliable readings every time.
Tip: Always shade the sample from strong ambient light during measurement. Stray light can interfere with the optical sensor and reduce accuracy.
Gloss meters for metal surfaces typically measure gloss units (GU) in a range from 0 to 1000 GU or higher. Most polished metals, such as stainless steel or plating parts, register above 500 GU. The device’s internal memory and fast measurement time—often as quick as 0.5 seconds—make it easy to test multiple areas quickly and efficiently.
Key features of gloss meters for metal surfaces include:
- High precision, with zero error within ±0.1 GU and indication error within ±1 GU for standard models.
- Compliance with ISO9001:2015 quality management systems and international standards (CIE, IEC).
- CE certification and third-party laboratory authentication.
- Supplied calibration plate and ISO calibration certificates for traceability.
- Repeatability and reproducibility within ±0.1 to ±0.5 GU, ensuring consistent results.
These features make gloss meters a reliable choice for anyone seeking to quantify surface gloss after using a metal polishing compound, whether by hand or with an industrial buffing machine.
Reading Results
Interpreting gloss meter results requires understanding how the device quantifies gloss. The meter displays readings in gloss units (GU), which represent the amount of light reflected from the surface compared to a polished glass standard. Higher GU values indicate a shinier, more reflective surface.
The following table summarizes the technical specifications and accuracy levels for gloss meters used on metal surfaces:
| Aspect | Details for Metal Surfaces |
|---|---|
| Typical Gloss Range | Mostly above 500 GU |
| Recommended Gloss Meter Range | 0-1000 GU |
| Zero Error (Standard Glossmeter) | ±0.1 GU |
| Indication Error (Standard Glossmeter) | ±1 GU |
| Zero Error (First-level Working Glossmeter) | ±0.2 GU |
| Indication Error (First-level Working Glossmeter) | ±1.5 GU |
Gloss meters use different angles for different gloss levels:
- 20° for high gloss (over 70 GU)
- 60° for semi-gloss (10-70 GU)
- 85° for low gloss (under 10 GU)
Metals with high reflectivity, especially after treatment with an industrial buffing machine, can reach gloss values up to 2000 GU. In these cases, users may interpret results as a percentage of reflectance to better understand the intensity of the gloss.
Gloss meters also allow users to detect surface haze. Haze appears as a difference in specular reflectance between the 60° and 20° angles, measured in Haze Units (HU). A high haze value signals that the surface, while shiny, may not have a clear or sharp reflection.
Users should recalibrate the gloss meter periodically, especially during long measurement sessions. This practice maintains accuracy and ensures reliable results. Strong ambient light or stray reflections can affect readings, so shading the sample and using consistent lighting conditions is important.
Note: Consistent calibration and proper technique help users achieve reliable gloss measurements. These steps support quality control in both home workshops and industrial settings.
Gloss meters provide a standardized, objective method for evaluating surface gloss. Their accuracy, compliance with international standards, and ease of use make them essential tools for anyone seeking professional results after metal polishing.
Comparison Methods
Reference Samples
Reference samples help users compare the gloss of a polished metal surface to a known standard. These samples often come as small metal plates or chips with a certified gloss level. Many professionals keep a set of reference samples in their workshop. They use these samples to judge if their polishing process, including the use of an industrial buffing machine, meets expectations.
To use a reference sample, a person places it next to the polished surface under the same lighting. They observe both surfaces from several angles. If the reflection and shine match, the gloss level is likely similar. This method works well for quick checks. It also helps when a gloss meter is not available.
Tip: Always store reference samples in a clean, dust-free container. Contamination can change the appearance and reduce accuracy.
Reference samples provide a visual benchmark. They support quality control in both home and industrial settings.
Gloss Charts
Gloss charts offer another way to compare surface gloss. These charts display images or gloss unit values for different finishes. Users can match their polished metal to the closest example on the chart. Many gloss charts include a range of gloss levels, from matte to high-gloss.
A typical gloss chart might look like this:
| Gloss Level | Description | Gloss Units (GU) | Example Use |
|---|---|---|---|
| Matte | No shine | 0-10 | Industrial parts |
| Semi-gloss | Soft reflection | 10-70 | Appliances, fixtures |
| High-gloss | Mirror-like finish | 70+ | Automotive, jewelry |
Gloss charts help users set goals for their polishing work. They also make it easier to communicate results with others. When using an industrial buffing machine, users can check progress by comparing the surface to the chart after each polishing stage.
Note: Gloss charts work best when viewed in the same lighting as the polished surface. This practice ensures accurate comparison.
Polishing Compound Tips
Progressive Polishing
Progressive polishing improves the final gloss of metal surfaces. This method uses abrasives with finer grit sizes in a specific order. The process starts with coarse abrasives to remove deep scratches. Medium grits follow, smoothing the surface and creating a satin finish. Fine and very fine abrasives then polish the surface to a mirror-like shine. Each step removes marks left by the previous grit, resulting in a uniform appearance.
- Coarse abrasives (8–60 grit) remove material quickly.
- Medium grits smooth out deeper scratches.
- Fine grits (220–1200 grit) create a high-gloss finish.
- Very fine compounds increase reflectivity and shine.
- Consistent motions and sequential use of polishing compounds prevent defects.
Studies show that using the right polishing compound tips can lower surface roughness (Ra) to as little as 0.016 µm, which leads to higher gloss. The table below compares surface roughness for different polishing sets:
| Polishing Set Type | Mean Ra (µm) |
|---|---|
| Lithium Disilicate Set | 0.016–0.047 |
| Zirconia Set | 0.016–0.023 |
| Feldspathic Set | 0.0476–0.6319 |
Protective Wax or Sealant
Applying a protective wax or sealant after polishing helps maintain gloss. Wax forms a hydrophobic layer that repels water and dirt. However, wax protection lasts only 4–8 weeks and wears off with washing or abrasion. Paint protection films (PPF) offer longer-lasting results. Studies found that PPF reduces gloss loss to only 10% after one year, while waxed surfaces lose up to 40% of their gloss. PPF also protects against scratches and environmental damage.
- Wax provides short-term protection but needs frequent reapplication.
- PPF offers self-healing and better long-term gloss retention.
- Both methods reduce surface damage, but PPF is more effective.
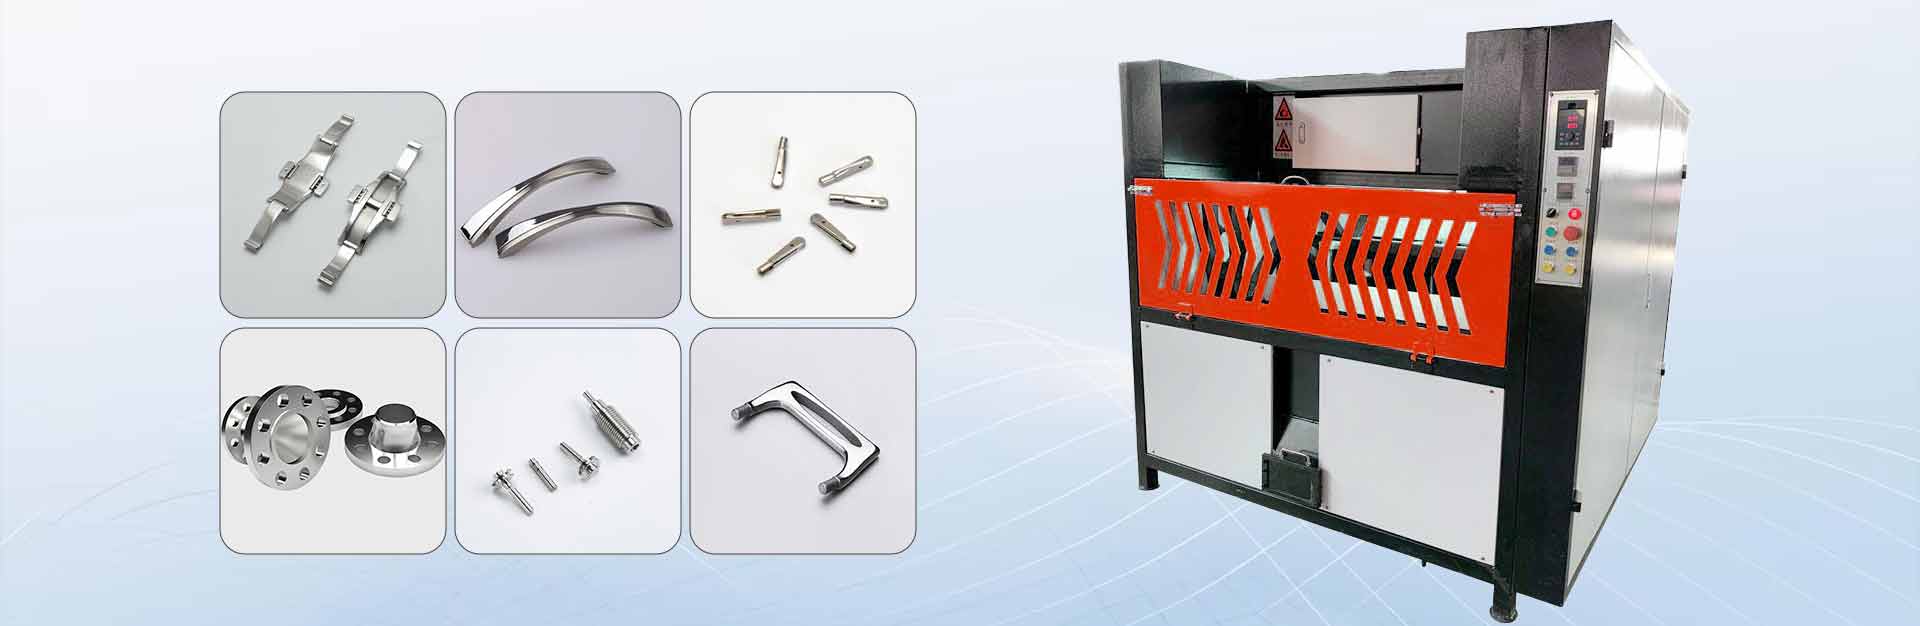
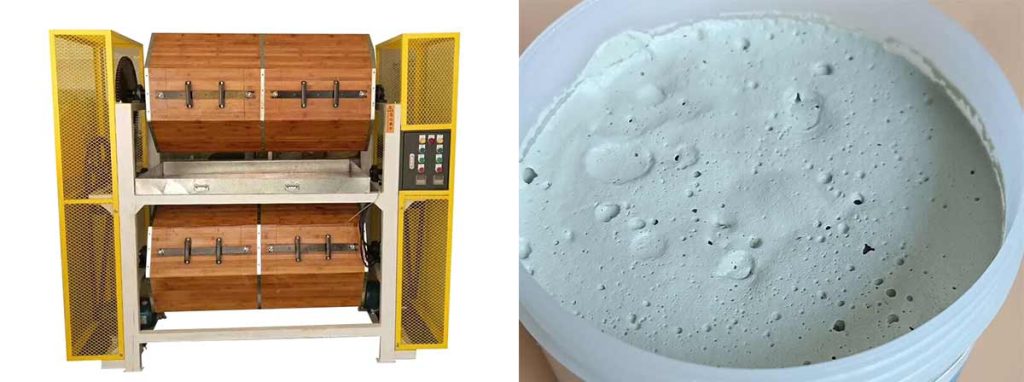
Industrial Buffing Machine
An industrial buffing machine delivers consistent pressure and speed during the polishing process. This equipment is ideal for polishing metal surfaces that require a flawless, high-gloss finish. Operators should use progressively finer buffing wheels and clean tools to avoid contamination. Wearing gloves prevents fingerprints and keeps the surface clean. The industrial buffing machine ensures even results across large areas, making it essential for professional polishing work.
Tip: Always clean the surface before and after each polish. This step prevents scratches and helps achieve the best shine.
Troubleshooting Polishing Results
Dull Finish Causes
A dull finish after polishing often signals problems in the process. Users may notice that the surface lacks the expected shine or appears cloudy. Several factors can cause this issue. Incomplete removal of old polishing compound leaves residue that dulls the surface. Using a worn or dirty buffing pad introduces fine scratches. Skipping steps in the polishing sequence prevents the surface from reaching its full potential. Sometimes, the wrong type of compound or pad fails to match the metal’s hardness. Overheating during polishing, especially without water coolant, can also damage the finish. When an industrial buffing machine operates at too high a speed, it may burnish the surface instead of polishing it. Each of these factors reduces the effectiveness of the polishing process.
Tip: Always inspect tools and materials before starting. Clean pads and fresh compounds help prevent dullness.
Improving Gloss

Restoring gloss after suboptimal polishing requires a systematic approach. Multiple studies show that corrective polishing steps can significantly improve both gloss and surface smoothness. Specialized zirconia polishing systems reduce roughness more effectively than grinding alone. Adding diamond polishing paste further enhances gloss. For lithium disilicate, post-adjustment polishing restores smoothness to levels similar to the original glazed surface. Clinical data supports the use of diamond paste to maintain gloss over time. Novel alumina-ceria pastes may provide even better results.
A step-by-step protocol works best. Start by cleaning the surface thoroughly. Use ultra-fine abrasives to remove scratches. Apply a suitable polishing compound and work in small sections. Each polishing step should last about 60 seconds, ideally with water coolant to prevent overheating. An industrial buffing machine ensures even pressure and consistent results, especially on large surfaces. Finish with a high-quality polishing paste for maximum shine. Regular maintenance and careful technique help preserve the polished look.
| Step | Action |
|---|---|
| Clean Surface | Remove all residue and dust |
| Fine Abrasive | Smooth out scratches |
| Polishing Compound | Apply and polish in sections |
| Final Paste | Use diamond or alumina-ceria paste |
| Inspect | Check for uniform gloss and shine |
Note: Consistent technique and the right materials make a noticeable difference in the final gloss.
Conclusion
Testing surface gloss after using a metal polishing compound involves several reliable methods. Readers can choose visual inspection, gloss meter testing, or comparison with reference samples. Proper cleaning and preparation remain essential for accurate results. An industrial buffing machine often helps achieve a professional finish.
Regular maintenance and careful inspection keep metal surfaces looking their best. Anyone can achieve lasting shine by following these steps and selecting the method that fits their needs.