Polishing intricate plastic shapes requires precision and the right tools. A plastic polisher helps restore plastic surfaces, enhancing their appearance and durability. It removes scratches and imperfections, leaving a smooth shine that looks professional. Proper preparation and technique ensure the process is safe and effective. Using the correct tools prevents damage and achieves consistent results. Whether working on small details or larger surfaces, a plastic polisher is essential for maintaining the quality and beauty of plastic items.
Key Takeaways
- Wash the plastic surface well before polishing. Use a gentle soap or special plastic cleaner to get rid of dirt and grease for better results.
- Cover parts you don’t want to polish with tape. This stops damage and keeps edges neat while polishing.
- Pick the right plastic polisher and compounds for the job. Use tools made for small shapes and start with low-grit compounds to fix scratches.
- Spread the polishing compound evenly and press gently. This stops new scratches and makes the surface smooth.
- Watch the temperature and take breaks to keep it cool. Check the surface often to protect the plastic from heat.
Preparation for Polishing Plastic
Cleaning the Surface
Remove Dirt, Grease, and Debris with a Mild Cleanser
Before starting the plastic polishing process, cleaning the surface is essential. Dirt, grease, and debris can interfere with the polishing compound, leading to uneven results. Use a mild cleanser to remove these contaminants. A soft cloth or sponge works well to gently scrub the surface without causing scratches. Rinse thoroughly with clean water and allow the plastic to dry completely.
Use a Specialized Plastic Cleaner for Better Results
For a more effective clean, opt for a specialized plastic cleaner. These products are designed to break down stubborn grime while being gentle on the material. Apply the cleaner evenly and wipe it off with a microfiber cloth. This step ensures the surface is free from residues that could hinder the polishing process.
Tip: Always test the cleaner on a small, inconspicuous area to ensure compatibility with the plastic.
Protecting Non-Polishing Areas
Mask Off Areas Not Being Polished with Painter’s Tape
Protecting areas that should not be polished is crucial. Painter’s tape is an excellent choice for masking off edges, emblems, or other sections. It adheres well to plastic surfaces and removes easily without leaving residue. Carefully apply the tape to create clean boundaries.
Use Protective Coverings to Avoid Accidental Damage
For larger or more complex projects, consider using protective coverings. These can include temporary masks, such as waxes or liquid masking solutions, which conform to intricate shapes. The table below highlights different masking options:
| Masking Type | Description | Temperature Suitability | Advantages | Disadvantages |
|---|---|---|---|---|
| Temporary Masks | Made of waxes, tapes, lacquers, magnetic masks, or UV-curable resins. | Varies by material (up to 300°F) | Versatile, easy to remove, inexpensive. | Must be created for each project. |
| Permanent Masks | Often made of rubber or silicone, designed for harsh conditions. | Higher temperatures than temp. | Reusable, less wasteful, suitable for large production runs. | More expensive, may need custom creation. |
| Wax Masking | Two types: petroleum-based (up to 150°F) and chlorinated synthetic (up to 300°F). | 150°F (petroleum), 300°F (chlorinated) | Salvageable, easy to remove, inexpensive. | Not suitable for anodizing above 300°F. |
| Liquid Masking | Stop-off lacquers, good for electroplating. | Some can handle up to 475°F. | Easy to apply, conforms to shapes, good for hard-to-reach areas. | Requires skill, timing is crucial. |
Choosing the Right Tools and Materials
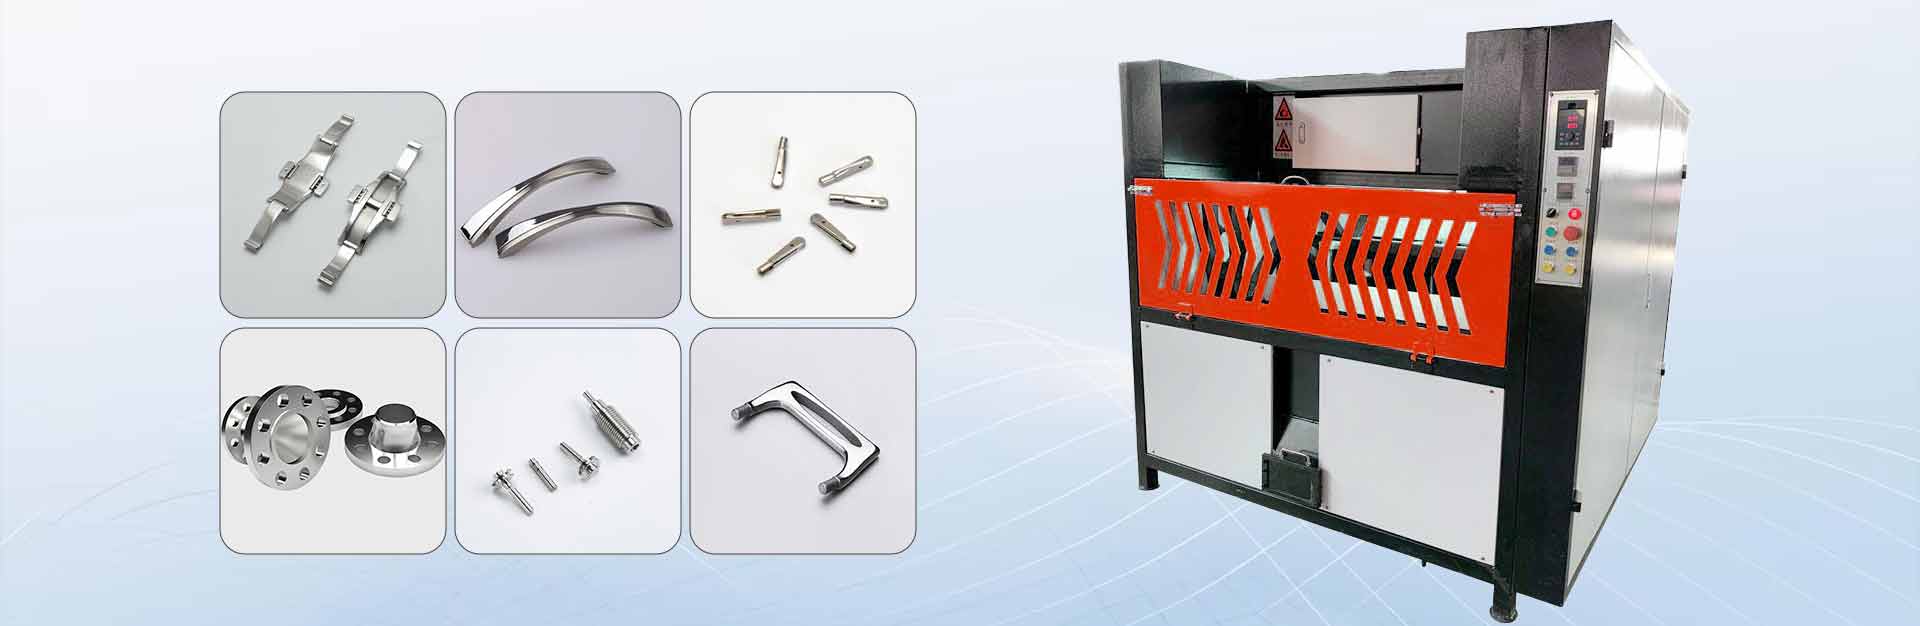
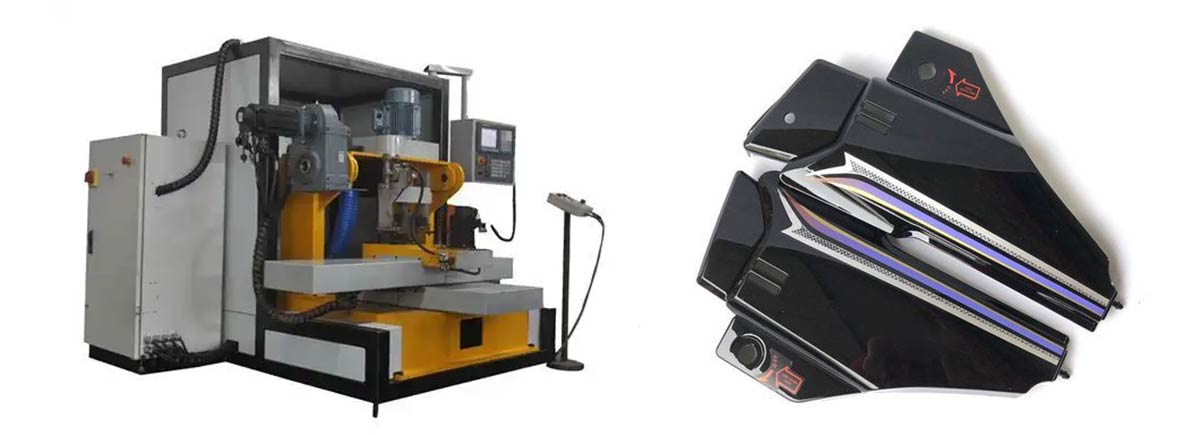
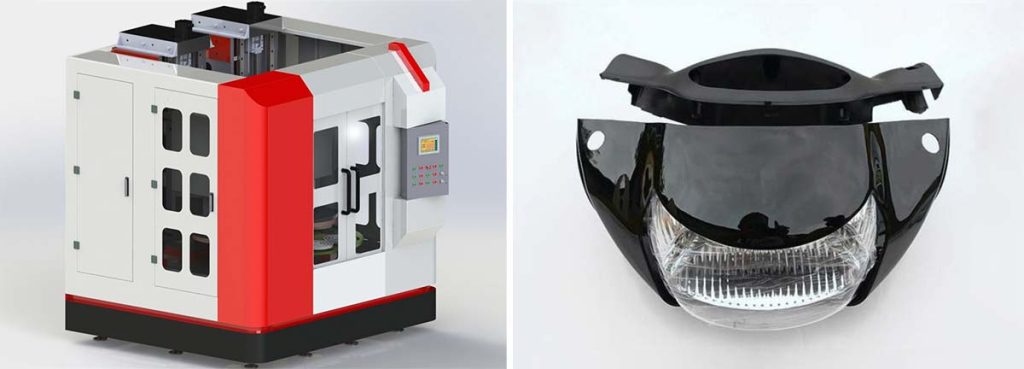
Select a Plastic Polisher Designed for Intricate Shapes
Choosing the right plastic polisher is vital for achieving a smooth finish. For intricate shapes, select a tool with small attachments or rotary features. These allow for precision in tight spaces and detailed areas. Miniature polishers are particularly effective for delicate work.
Use Plastic-Specific Polishing Compounds
The polishing compound plays a significant role in the final result. Use a compound specifically designed for plastic surfaces. Start with a low-grit compound to remove scratches, then progress to higher-grit options for a polished finish. This gradual approach ensures a smooth and professional look.
Tip: Always follow the manufacturer’s instructions when using polishing compounds to avoid damage.
Techniques for Polishing Plastic
Step-by-Step Polishing Process
Start with a Low-Speed Setting on the Polisher

Begin the process by setting the plastic polisher to a low-speed setting. This reduces the risk of overheating and ensures better control over the tool. A slow start allows the user to assess the surface and make adjustments as needed.
Apply Polishing Compound Evenly Across the Surface
Spread the polishing compound evenly over the plastic surface. Uneven application can lead to inconsistent results. Use a soft applicator or a foam pad to distribute the compound. For deeper scratches, start with a coarser compound and gradually switch to finer ones for a smooth finish.
Use Consistent, Gentle Pressure to Avoid Damage
Apply gentle, consistent pressure while moving the polisher in a circular motion. Excessive force can damage the plastic or create new scratches. Let the tool do the work, and avoid lingering in one spot for too long.
Tip: For a shinier finish, use finer sandpaper (800-grit to 2,000-grit) before applying the compound. This step helps remove scratches and prepares the surface for polishing.
Polishing Intricate Shapes
Use Small Attachments for Tight or Detailed Areas
Intricate shapes require precision. Attach small polishing heads or rotary tools to reach tight corners and detailed sections. These tools are ideal for areas that are difficult to access with standard attachments.
Work in Sections to Maintain Control and Precision
Divide the surface into smaller sections. This approach ensures better control and precision, especially when working on complex geometries. Ultrasonic polishing can also be effective for delicate surfaces, as it uses sound waves to gently remove material without causing damage.
Note: Regularly inspect the surface for scratches or irregularities during the process. Addressing issues promptly helps maintain a polished finish.
Managing Heat and Pressure
Avoid Overheating by Taking Breaks and Monitoring Temperature
Overheating can warp the plastic or cause discoloration. Take frequent breaks to allow the surface to cool. Monitor the temperature by touching the plastic lightly. If it feels warm, pause the process.
Use Light Pressure to Prevent Scratches or Warping
Excessive pressure can lead to scratches or distortions. Use a light touch and let the polisher glide over the surface. Protective coatings, such as wax or sealants, can be applied afterward to shield the polished surface from environmental damage.
Tip: For a gleaming finish, use a buffing wheel with a light touch. This step enhances the shine and smoothness of the plastic.
Recommended Tools and Products for Plastic Polishing
Tools for Intricate Shapes
Miniature Polishers or Rotary Tools with Small Attachments
Polishing intricate shapes requires precision tools. Miniature polishers or rotary tools equipped with small attachments are highly effective for detailed work. These tools allow users to access tight corners and complex geometries with ease. Rotary tools, when paired with buffing wheels or polishing pads, are particularly useful for intermediate and fine polishing. Ultrasonic polishing is another excellent option for delicate plastic parts. It uses high-frequency sound waves to agitate fine abrasives, ensuring a smooth finish without damaging the material.
Foam Pads and Cotton Swabs for Detailed Work
Foam pads and cotton swabs are essential for achieving a professional shine on intricate plastic parts. Foam pads distribute pressure evenly, reducing the risk of scratches. Cotton swabs are perfect for reaching small crevices and edges. These tools work well with plastic polishing compounds, ensuring a consistent and smooth finish.
Tip: Always clean tools before use to prevent scratches caused by dirt or debris.
Polishing Compounds
Use Plastic-Specific Compounds for a Smooth Finish
Plastic-specific polishing compounds are crucial for achieving optimal results. These compounds are formulated to remove scratches and imperfections without damaging the surface. Start with a coarse compound to address deeper scratches, then switch to finer compounds for a polished look. This gradual progression ensures a smooth and even finish.
Gradually Progress from Low-Grit to High-Grit Abrasives
Using abrasives with varying grit levels is key to effective plastic polishing. Begin with low-grit abrasives to remove surface imperfections. Gradually move to high-grit options to refine the surface and enhance its shine. This method minimizes the risk of over-polishing and ensures a professional-quality result.
Note: Always follow the manufacturer’s instructions when using a plastic polishing compound to avoid damage.
Beginner-Friendly Kits
All-in-One Kits with Multiple Attachments
Beginner-friendly polishing kits simplify the process for those new to plastic polishing. These kits often include a variety of attachments, such as foam pads and buffing wheels, to accommodate different polishing stages. Many kits are designed for use with standard drills, making them accessible and easy to use.
Kits Designed for Polishing Plastic Surfaces
Polishing kits tailored for plastic surfaces are ideal for hobbyists and professionals alike. These kits typically include tools and compounds suitable for acrylic and other types of plastic. Features like heat management instructions help users avoid common issues, such as overheating. The table below highlights key features of beginner-friendly kits:
| Feature | Description |
|---|---|
| Ease of Use | Kits designed for use with a standard drill, simplifying the polishing process. |
| Included Tools | Comes with a taper for drill chuck and various mops for different polishing stages. |
| Suitable for Various Plastics | Ideal for acrylic and all types of plastic, including hobbyist projects. |
| Heat Management | Instructions emphasize the importance of keeping the mop moving to prevent melting. |
| Specific Applications | Kits available for both small model making and hand polishing in industries like aerospace. |
Tip: For best results, choose a polishing kit that matches the specific requirements of your project.
Avoiding Common Mistakes When You Polish Plastic
Preventing Overheating
Use a Low-Speed Setting and Take Frequent Breaks
Overheating is a common issue when polishing plastic. Using a low-speed setting on the plastic polisher minimizes heat buildup. This approach ensures the surface remains cool and prevents damage. Frequent breaks during the process allow the plastic to cool down naturally. These pauses also give the user time to inspect the surface for any signs of overheating.
Tip: If the plastic feels warm to the touch, stop immediately and let it cool before continuing.
Monitor the Temperature to Avoid Warping the Plastic
Monitoring the temperature is essential to avoid warping. Plastic becomes pliable under excessive heat, which can distort its shape. Regularly check the surface temperature by lightly touching it. If it feels hot, reduce the speed or take a break. Using a fan or working in a well-ventilated area can also help dissipate heat effectively.
Using the Correct Compounds
Test Compounds on a Small Area Before Full Application
Testing the polishing compound on a small, inconspicuous area ensures compatibility with the plastic. Some compounds may react poorly, causing discoloration or damage. Apply a small amount and observe the results before proceeding with the entire surface. This precaution helps avoid costly mistakes.
Avoid Using Compounds Not Designed for Plastic
Using compounds not specifically designed for plastic can lead to poor results. These products may fail to remove scratches effectively or cause further damage. Always choose plastic-specific compounds to ensure a smooth finish. Following the manufacturer’s instructions guarantees optimal performance and safety.
Applying the Right Amount of Pressure
Let the Tool Do the Work Without Forcing It
Excessive pressure can damage the plastic or create new scratches. Allow the plastic polisher to glide over the surface naturally. The tool’s design ensures it removes scratches efficiently without the need for force. A light touch produces better results and reduces the risk of errors.
Use a Soft, Consistent Motion to Prevent Damage
A soft, consistent motion is key to achieving a polished finish. Avoid abrupt movements or lingering in one spot for too long. This technique ensures even polishing and prevents damage to the surface. Regularly clean the polishing pad to remove debris that could scratch the plastic.
Note: Practicing on a spare piece of plastic can help beginners develop the right technique.
Conclusion
Achieving a polished finish by plastic polisher on intricate plastic shapes requires careful preparation, proper techniques, and attention to detail. Cleaning the surface thoroughly, protecting non-polishing areas, and selecting the right tools ensure a smooth process. Following the step-by-step guide helps remove scratches effectively while maintaining the integrity of the plastic. Avoiding common mistakes, such as overheating or using incorrect compounds, guarantees professional-quality results.
Using the right tools and products is essential for success. The table below highlights some of the most effective options for polishing intricate shapes:
| Tool/Technique | Description |
|---|---|
| Dual-action polishers | Combine rotary and orbital motions for a swirl-free finish, ideal for delicate surfaces. |
| Bench grinders | Equipped with polishing attachments for heavy-duty tasks, ensuring consistent results. |
| Microfiber cloths | Used for wiping surfaces between polishing stages and for final clean-up without scratching. |
| Industrial vacuums | Keep the work area clean by removing dust and debris, ensuring a smooth surface. |
| Buffing wheel rake | Cleans buffing wheels, removing build-up of polishing compounds to maintain effectiveness. |
| Polishing pads and compounds | Wool, foam, or microfiber pads used in machine polishing with varying levels of aggressiveness. |
| Precision polishing tools | Designed for hard-to-reach areas, providing controlled and accurate polishing. |
| Rotary tools | With buffing wheels or polishing pads, perfect for intermediate and fine polishing. |
By following this guide and using the recommended tools, anyone can remove scratches and achieve a flawless finish on plastic surfaces. Whether working on a hobby project or a professional task, these techniques ensure precision and quality.