
Plastic buffing plays a crucial role in 3d printing post-processing by transforming rough, layered surfaces into smooth, polished finishes. The layer-by-layer construction of 3d printing often leaves imperfections that can affect both appearance and mechanical properties. Buffing eliminates these flaws, enhancing the durability and aesthetics of the final product. A smoother surface reduces wear and tear, ensuring the part lasts longer. It also improves the adhesion of coatings and paints, making the product visually appealing. Whether preparing for finishing the print or enhancing its functionality, plastic buffing ensures a professional-grade result in 3d printing post-processing.
Key Takeaways
- Plastic buffing makes rough 3D prints smooth and shiny. It improves how they look and last longer.
- Use the right sandpaper steps. Start with rough sandpaper to fix flaws, then use smoother sandpaper for a shiny finish.
- Clean the surface after each buffing step. This stops scratches and makes the final look perfect.
- Wear safety gear. Protect your hands, eyes, and lungs when using tools or chemicals.
- Try advanced methods like vapor smoothing or epoxy coating. These can make your 3D prints look professional.
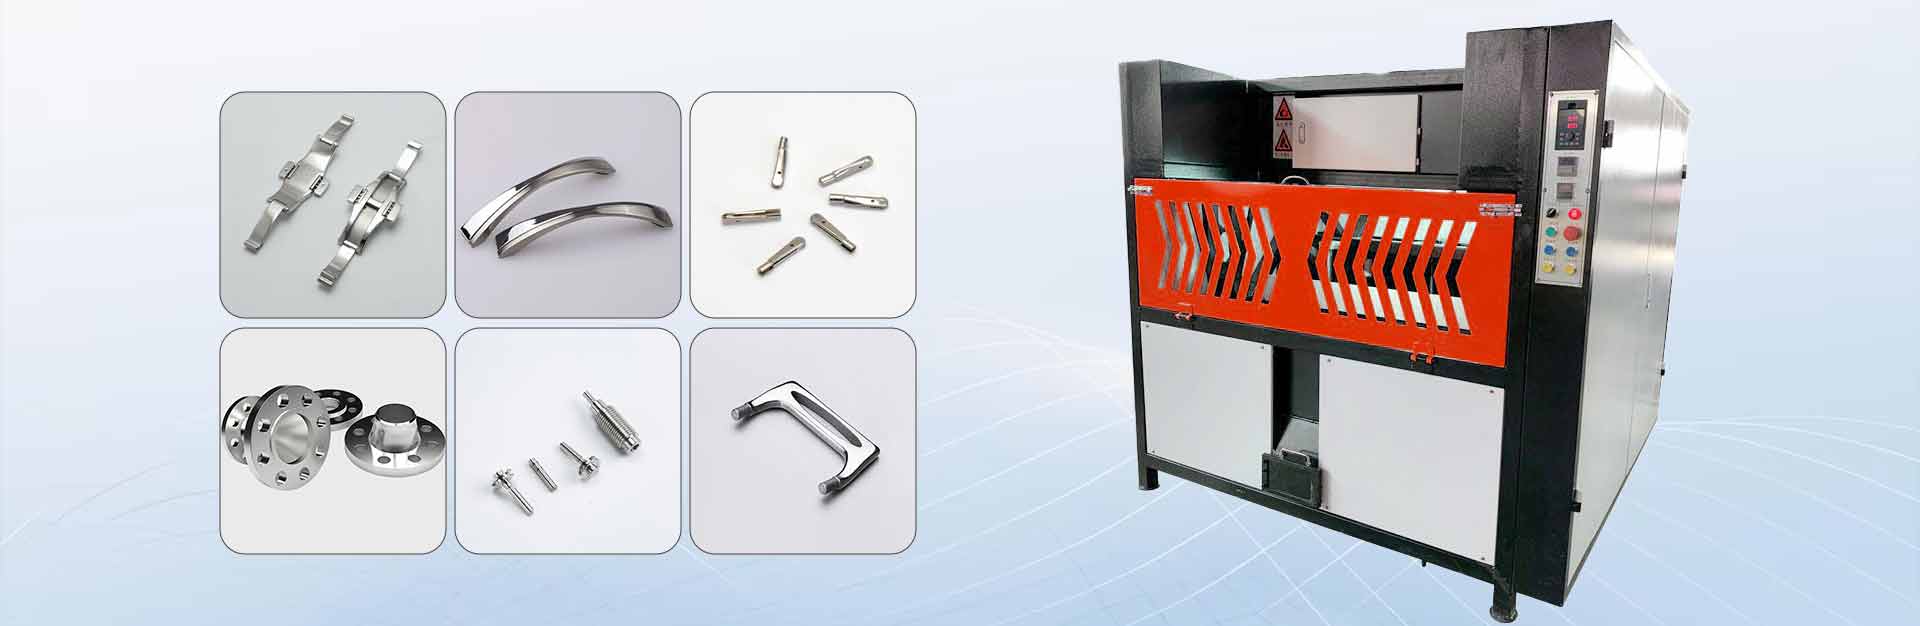
Materials and Tools for Plastic Buffing
Essential Tools for Buffing
Sandpaper (Various Grits)
Sandpaper is a fundamental tool for achieving a smooth finish on 3D printed plastics. It allows users to refine surfaces by removing imperfections layer by layer. A proper grit progression is essential for effective sanding. Start with coarse grits like 200 or 400 to remove larger flaws. Gradually move to finer grits such as 1,000, 1,500, and up to 3,000 for a polished surface. Sanding requires patience and attention to detail, as it forms the foundation for other 3D printing finishing methods like painting or applying an xtc-3d coating.
Buffing Pads and Polishing Wheels
Buffing pads and polishing wheels are ideal for smoothing and polishing curved or intricate surfaces. These tools attach to rotary devices, making them versatile for various shapes. They work well with polishing compounds to achieve a glossy finish. Buffing pads are particularly effective for SLA post-processing, where precision is crucial.
Rotary Tools or Dremel
Rotary tools, such as a Dremel, provide precision and efficiency for plastic buffing. These tools can handle sanding, polishing, and even minor repairs. They are compatible with various attachments, including sanding discs and polishing wheels. Rotary tools are indispensable for detailed work on small or complex 3D printed parts.
Recommended Materials
Polishing Compounds
Polishing compounds enhance the surface finish by filling micro-scratches and adding shine. They are especially useful after sanding to achieve a professional-grade appearance. Choose compounds designed for plastics to avoid damage.
Plastic-Safe Cleaning Solutions
Cleaning solutions remove dust and residue left from sanding and polishing. Use plastic-safe options to prevent chemical reactions that could degrade the material. Cleaning between steps ensures a flawless finish.
Safety Gear (Gloves, Goggles, Mask)
Safety gear is essential when working with tools and chemicals. Gloves protect hands from abrasions and chemicals. Goggles shield eyes from debris, while a mask prevents inhalation of fine particles. Prioritizing safety ensures a smooth workflow.
Optional Tools for Advanced Smoothing
Heat Guns
Heat guns soften the surface of 3D printed plastics, allowing minor imperfections to self-level. They are particularly effective for materials like PLA, which can deform under heat. Use heat guns cautiously to avoid warping.
Ultrasonic Polishers

Ultrasonic polishers offer precision and efficiency for advanced smoothing. These tools excel at polishing hard or brittle plastics without causing deformation. They are user-friendly and require minimal maintenance. Ultrasonic polishers are ideal for thin-walled or intricate parts, achieving high precision and low surface roughness.
Tip: Combining sanding, polishing, and tools like ultrasonic polishers can significantly enhance the finishing process, ensuring a professional result.
Step-by-Step Guide to Finish 3D Printed Parts
Buffing ABS Plastic
Surface Preparation
Proper preparation ensures a smooth and polished finish for ABS plastic. Start by degreasing the surface using an aqueous alkaline cleaner or detergent solution. Rinse thoroughly with clear water to remove any residue. Abrade the surface with fine sandpaper to eliminate imperfections. After sanding, clean the surface to remove dust. For a professional finish, apply a solvent-containing paint or primer to enhance adhesion and smoothness.
Sanding and Smoothing Techniques
ABS plastic responds well to sanding and smoothing. Begin with coarse sandpaper, such as 200 grit, to remove visible flaws. Gradually progress to finer grits, like 400 and 1000, for a smoother surface. Wet sanding reduces dust and improves the final result. Acetone vapor smoothing is another effective method. This technique dissolves the outer layer of ABS, creating a seamless and polished appearance. After smoothing, apply a liquid polish, such as Brasso, to enhance the shine.
Polishing for a Glossy Finish
Achieving a glossy finish on ABS plastic involves several steps. Acetone vapor smoothing provides a shiny and smooth surface by dissolving the material’s outer layer. Polishing with liquid products, like Brasso, further enhances the gloss. Alternatively, applying a liquid coating, such as xtc-3d, creates a protective and glossy shell. This method hides layer lines and blemishes, resulting in a professional-grade finish.
Buffing PLA Plastic
Challenges and Solutions
Buffing PLA plastic presents unique challenges. Its lower melting point makes it prone to heat damage during sanding and smoothing. To address this, use wet sanding techniques to minimize friction and heat buildup. Proper calibration of retraction settings during printing reduces stringing and oozing, which can affect the finish.
Avoiding Heat Damage
PLA plastic requires careful handling to prevent heat damage. Use fine-grit sandpaper and apply minimal pressure during sanding. Wet sanding helps dissipate heat and protects the material. Avoid using high-speed rotary tools, as they can generate excessive heat.
Achieving Matte or Glossy Results
To achieve a matte finish, use fine-grit sandpaper and apply a clear coat or varnish for protection. For a glossy finish, polish the surface with a liquid polish or apply xtc-3d. Smaller layer heights during printing also contribute to smoother finishes.
Buffing PETG Plastic
Unique Properties of PETG
PETG plastic has excellent layer adhesion, making it strong and durable. Its lower glass transition temperature of around 80°C reduces warping and shrinkage. However, PETG is more resistant to abrasion, making sanding and smoothing more time-consuming.
Best Practices for Smoothing and Polishing
Sanding PETG requires patience due to its abrasion resistance. Start with coarse sandpaper and progress to finer grits for a smoother surface. Wet sanding improves results by reducing dust and heat. Applying xtc-3d creates a smooth and glossy finish, hiding imperfections effectively.
Preventing Scratches
Preventing scratches on PETG involves using fine-grit sandpaper and maintaining consistent pressure during sanding. Wet sanding minimizes the risk of scratches and ensures a polished surface. Cleaning the surface between steps removes debris that could cause damage.
Tip: Combining sanding, xtc-3d application, and polishing techniques enhances the finish of 3D printed parts, ensuring professional results.
General Buffing Tips for All Plastics
Choosing the Right Grit Progression
Selecting the correct grit progression is essential for achieving a smooth and polished surface during plastic buffing. Starting with a coarse grit removes larger imperfections, while finer grits refine the surface for a polished finish. The table below outlines recommended grit sizes and their applications for different types of plastics:
| Grit Size | Type | Application |
|---|---|---|
| #600 | Grit Paper | Polishing |
| #400 | Grit Paper | Polishing |
| #320 | Grit Paper | Polishing |
| — | Diamond Buff | Polishing |
| — | Sandblast | Surface Prep |
| 140# | Grinding Miller | Grinding |
| 230# | Grinding Miller | Grinding |
| 400# | Grinding Miller | Grinding |
For 3d printed parts, starting with #320 grit sandpaper works well for initial sanding. Progressing to #600 grit ensures a smoother surface. For advanced polishing, diamond buff tools can be used to achieve a professional-grade finish. Combining these techniques with xtc-3d application enhances the final result by hiding layer lines and adding a glossy coating.
Maintaining Consistent Pressure
Applying consistent pressure during sanding is crucial for uniform results. Uneven pressure can create dips or scratches on the surface, especially on softer plastics like PLA. Users should hold the sanding tool or sandpaper firmly but avoid pressing too hard. Light, even strokes work best for maintaining control and preventing damage. When using a plastic buffing machine, adjust the settings to ensure steady pressure across the surface. This approach minimizes the risk of overheating and warping, which is particularly important for materials like PETG.
Cleaning Between Steps
Cleaning the surface between each step of the buffing process ensures a flawless finish. Dust and debris left from sanding can cause scratches during subsequent steps. A plastic-safe cleaning solution works well for removing residue without damaging the material. For 3d printed parts, rinsing with water after wet sanding is an effective way to eliminate particles. After cleaning, allow the surface to dry completely before proceeding to the next step. This practice is especially important when applying xtc-3d, as any residue can interfere with the coating’s adhesion and smoothness.
Tip: Regularly inspect the surface during the buffing process to identify areas that need additional attention. This proactive approach ensures a consistent and professional finish.
Troubleshooting Buffing Issues
Uneven Surfaces
Causes and Fixes
Uneven surfaces often result from improper sanding techniques or inconsistent pressure during the buffing process. These imperfections can affect the appearance and functionality of 3d printed parts. Several methods can address this issue effectively:
- Manual grinding and polishing: Sandpaper works well for smoothing simple shapes. Start with coarse grit to remove larger imperfections and progress to finer grits for a polished finish.
- Sandblasting: This technique sprays abrasive particles to remove roughness. It is particularly effective for large or intricate surfaces.
- Chemical polishing: Solvents dissolve uneven particles, creating a smooth surface. This method works well for materials like PLA and ABS.
- Bead blasting: Thermoplastics are used to smooth hard-to-reach areas. This method is faster than manual sanding and ideal for complex geometries.
Regular inspection during the buffing process helps identify uneven areas early, ensuring a consistent finish.
Overheating and Warping
Preventing Heat Damage
Overheating and warping occur when excessive friction or high-speed tools generate heat during the buffing process. This issue is common with materials like PLA, which have low melting points. To prevent heat damage:
- Use wet sanding techniques to reduce friction and dissipate heat.
- Apply light, consistent pressure when sanding or polishing.
- Avoid high-speed settings on rotary tools or a plastic buffing machine.
- Take breaks between sanding sessions to allow the material to cool.
These practices ensure the integrity of the 3d printed part while achieving a smooth finish.
Residue or Streaks
Cleaning Techniques
Residue or streaks often appear after sanding or polishing due to leftover particles or improper cleaning. These blemishes can interfere with the final appearance of the 3d printed part. Effective cleaning techniques include:
- Use a plastic-safe cleaning solution to remove dust and residue.
- Rinse the part with water after wet sanding to eliminate particles.
- Dry the surface completely before proceeding to the next step.
For stubborn streaks, a microfiber cloth can help polish the surface without causing scratches. Proper cleaning ensures a flawless finish and prepares the part for additional processes like the removal of support structures or coating applications.
Tip: Consistent cleaning between steps not only enhances the finish but also prevents scratches and other imperfections during the buffing process.
Difficulty Achieving Desired Finish
Adjusting Tools and Materials
Achieving the desired finish on 3d printed parts often requires fine-tuning tools and materials. Adjustments can address common challenges like uneven surfaces, visible layer lines, or inconsistent textures. Selecting the right methods and equipment ensures a professional-grade result.
Several techniques can enhance the surface quality of 3d printed parts:
- Tumbling: This method uses a centrifugal barrel system to gently polish delicate parts. It is ideal for small or intricate designs that require precision.
- Vapor Smoothing: Solvent vapor melts the surface, creating a shiny finish while sealing pores. This technique works well for ABS and similar materials.
- Solvent Dipping: Dipping the part in solvent achieves effects similar to vapor smoothing. However, it may impact dimensional accuracy, making it less suitable for precise components.
- Epoxy Coating: Applying epoxy by hand creates an airtight seal, enhancing resistance to chemicals and heat. This method also improves the aesthetic appeal of 3d printed parts.
- Epoxy Infiltration: Immersing the part in epoxy resin under vacuum fills pores and strengthens the surface. This technique is particularly effective for functional parts requiring durability.
- Painting: Adding a layer of paint enhances aesthetics and provides some sealing. While not as robust as other methods, it offers a quick and cost-effective solution.
Advanced tools can further refine the finish. Vapor smoothing machines automate the process, ensuring consistent results. Systems like DyeMansion’s automated solutions clean and color parts, improving surface quality. Devices such as Formlabs Form Wash and Cure or Carbon’s Smart Part Washer streamline cleaning and curing, delivering polished finishes for SLA and DLP prints.
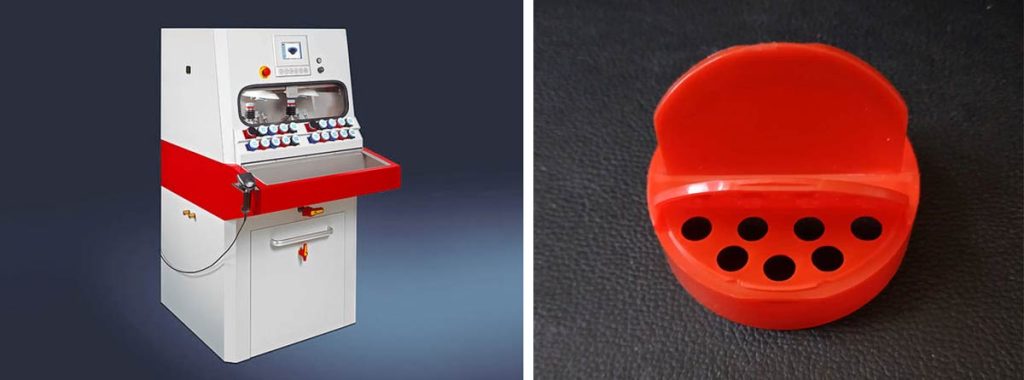
Using a plastic buffing machine can also improve results. These machines provide consistent pressure and speed, reducing the risk of uneven finishes. Combining these tools with proper techniques ensures a smooth and polished surface for 3d printed parts.
Tip: Experimenting with different methods and tools helps identify the best approach for specific materials and designs. Regular inspection during the process ensures adjustments are made as needed.
Conclusion
Plastic buffing plays a vital role in 3D printing post-processing, transforming rough prints into professional-grade products. By smoothing surfaces, it enhances both the appearance and functionality of parts. Essential steps like sanding, polishing, and applying coatings ensure a refined finish. Tools such as rotary devices, polishing compounds, and even a plastic buffing machine simplify the process and improve results.
Experimenting with advanced techniques like epoxy coating or vapor smoothing can further elevate the quality of 3D printed parts. Additive methods, including priming and painting, also enhance durability and aesthetics. A consistent approach to post-processing ensures every project achieves its full potential.
Tip: Combining methods like abrasive smoothing and epoxy infiltration can create durable, polished surfaces for intricate designs.